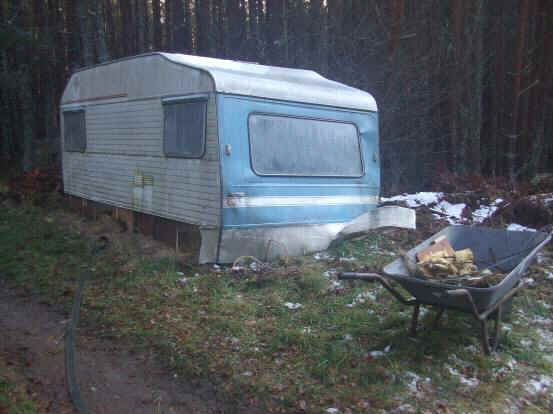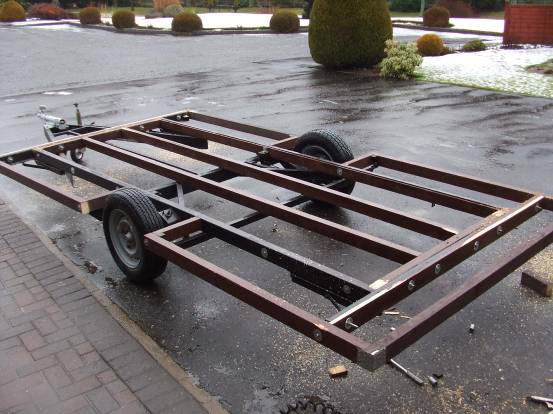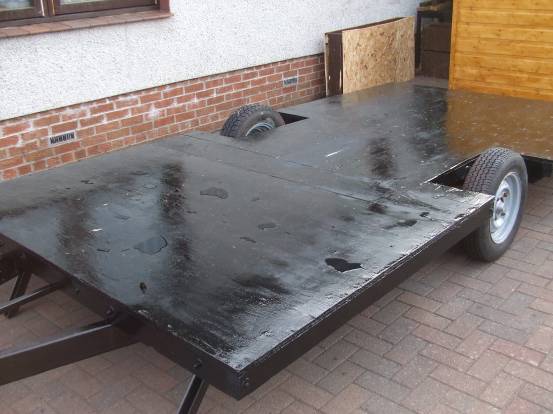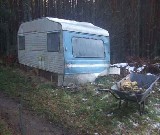
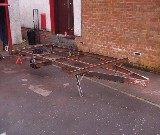
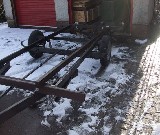
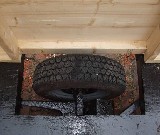
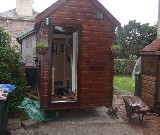
Above:The
old caravan with chassis cut out. Took
around two hours with grinder
|
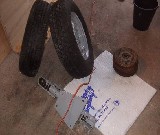
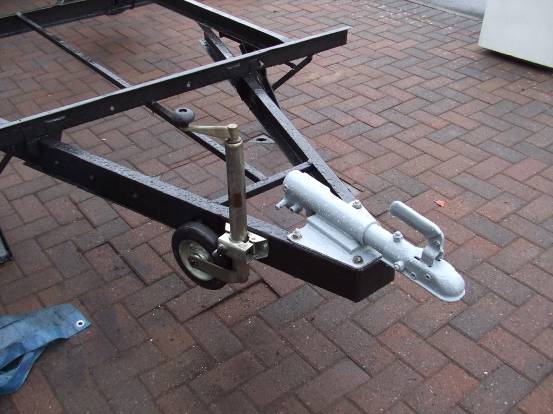
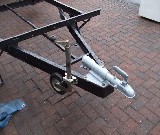
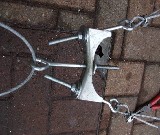
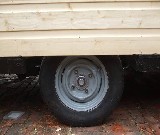
Above:
Wheels and hitch after being
stripped cleaned and repainted
|
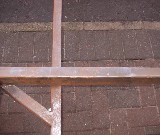
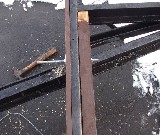
Above:
Part of the chassis after the
wire brushing and cleaning
|
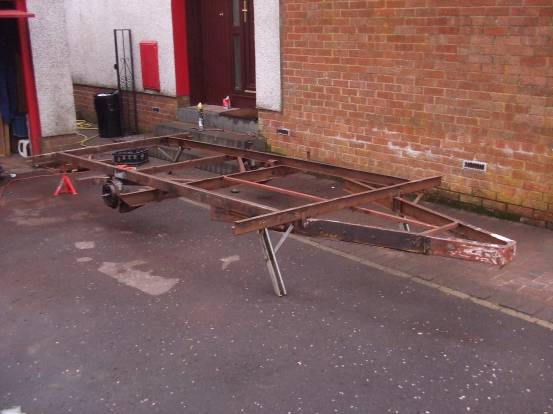
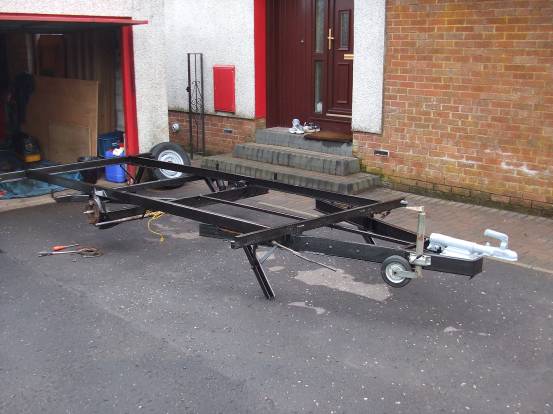
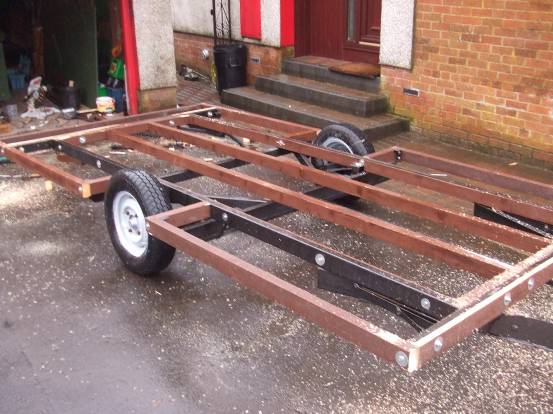
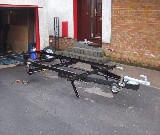
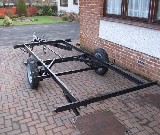
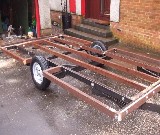
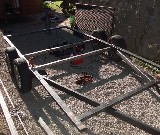
Above:
Wire brushing and cleaning and
preparing of chassis complete
|

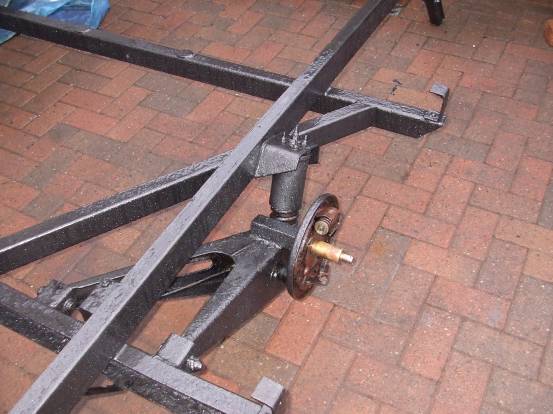
Above:
Independant suspension
|
Above:
Hitch
|
Above:
Painted with Hammerite. (2.5l used)
|
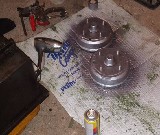
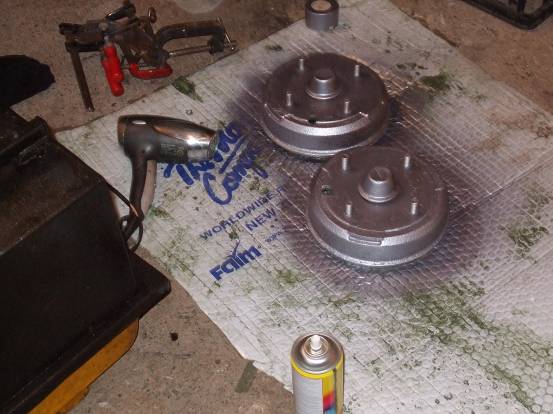
Above:
Hubs being sprayed
|

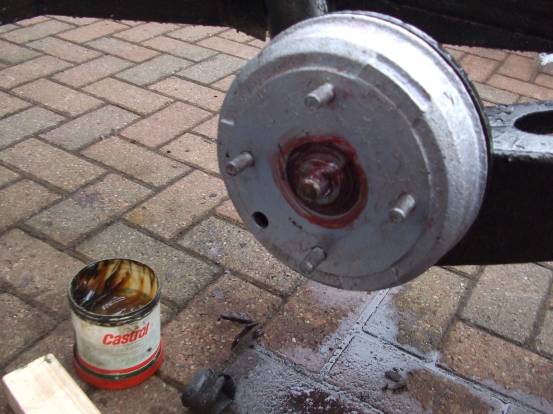
Above:
Hubs assembled and bearings greased
|
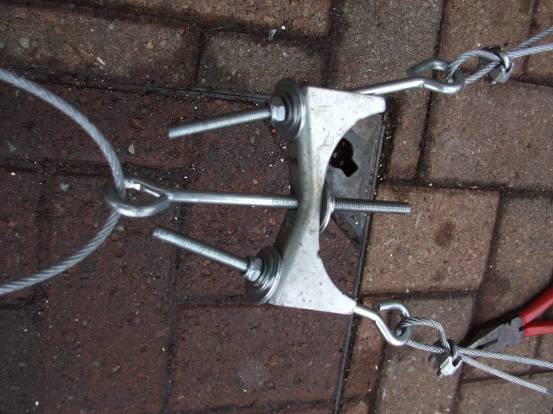
Above:
One off brake cable made from u-bolt
bracket and wire rope and fixings
|
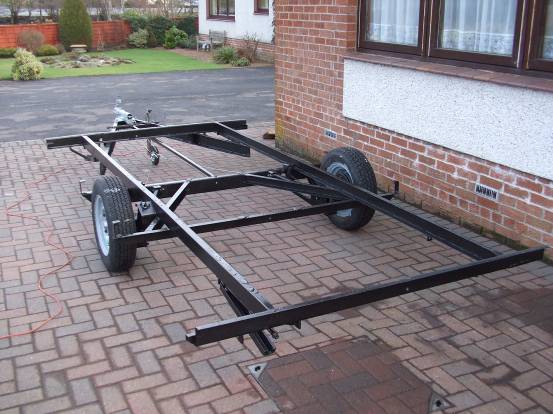
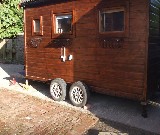
Above:
Assembled with wheels
|
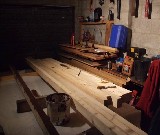
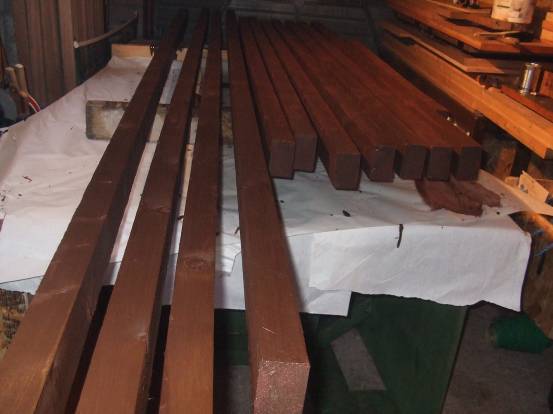
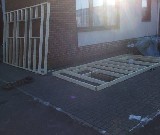
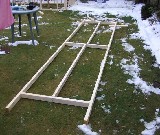
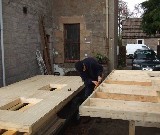
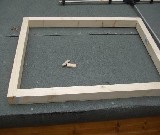
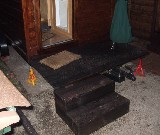
Above:
Wood for flooring frame
|
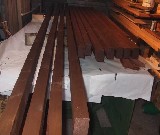
Above:
And painted
|
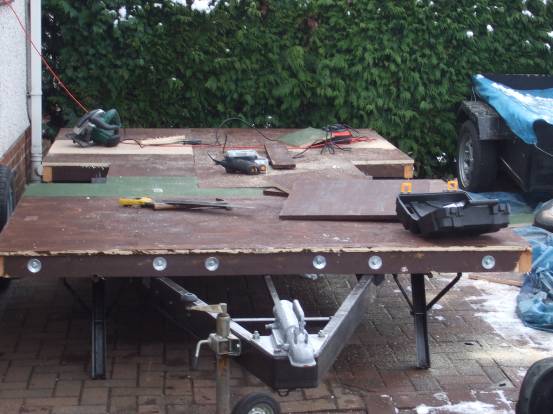
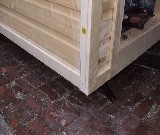
Above:
Fitting floor
|
Above:
Fitting floor
|

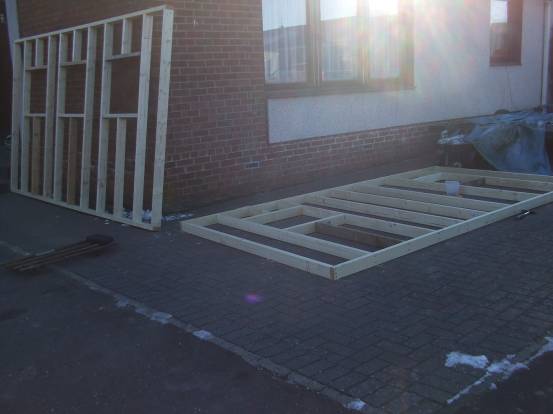
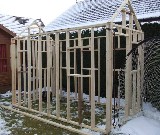
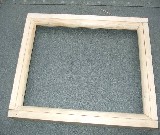
Above:
frame completed
|
Above:
Frame again
|

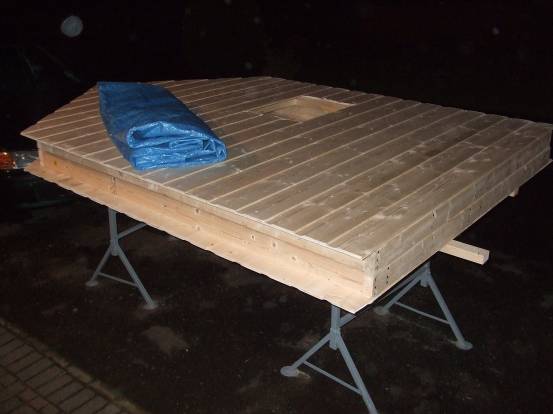
Above:
Floor Sheathing
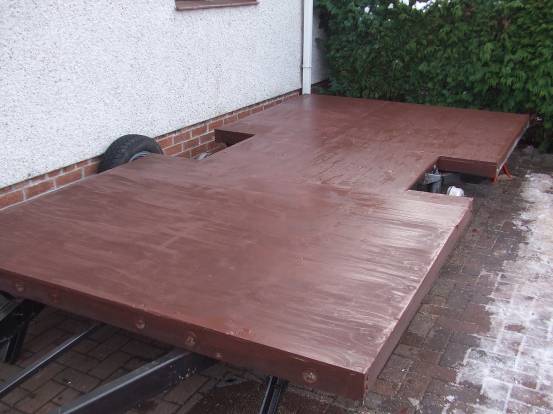
|
Above:
And painted
|
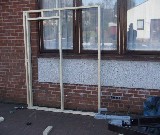
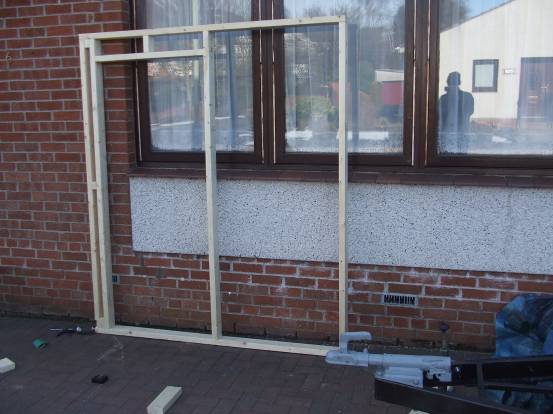
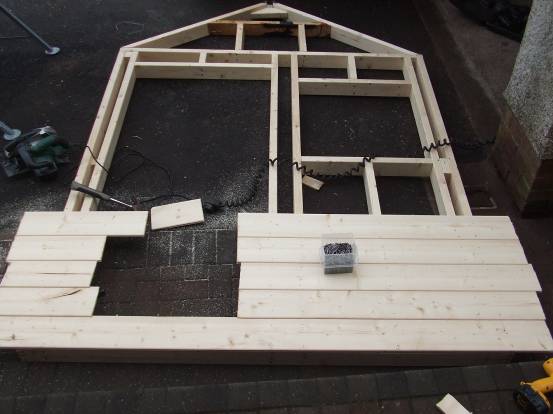
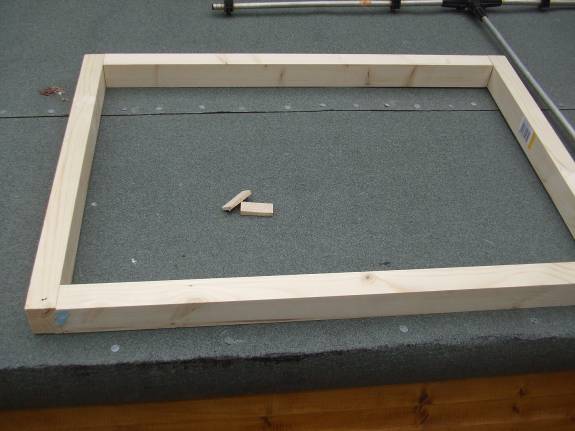
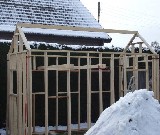
Above:
Front door wall frame
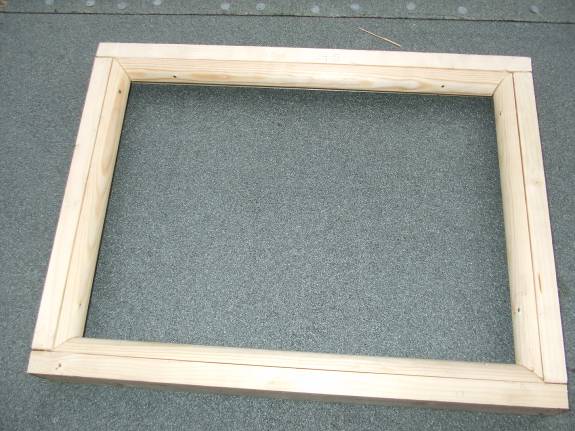
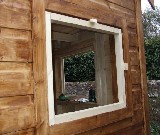
|
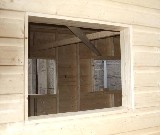
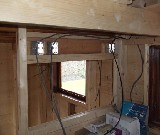
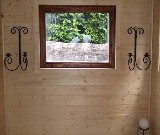
Above:
And with window
|
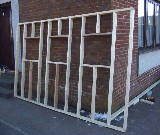
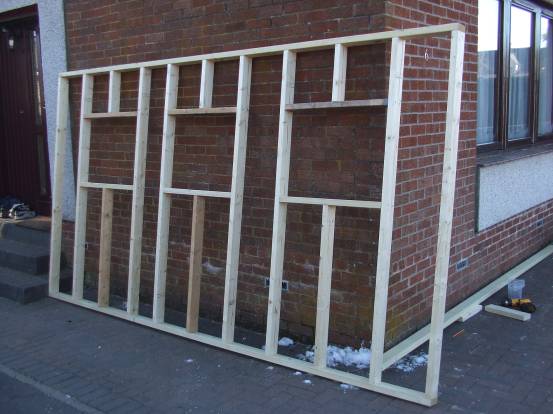
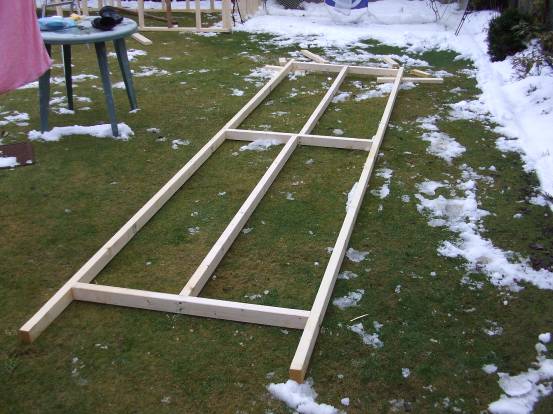
Above:
Side wall frame
|
Above:
Both
|

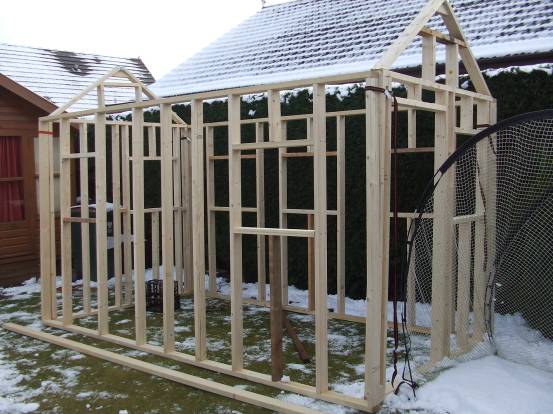
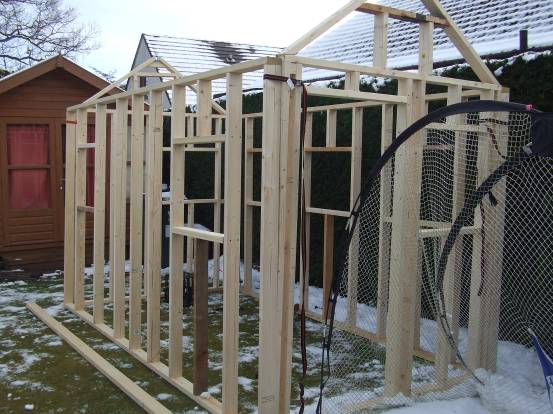
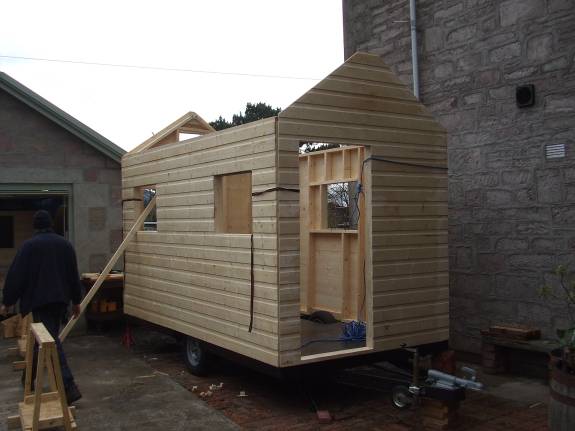
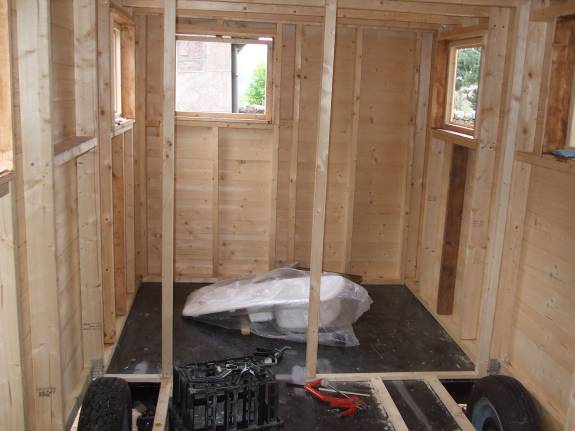
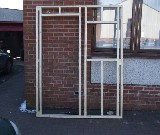
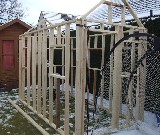
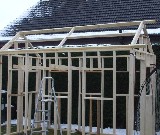
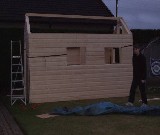
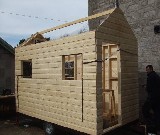
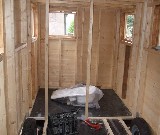
Above:
First erection to get idea of
space
|
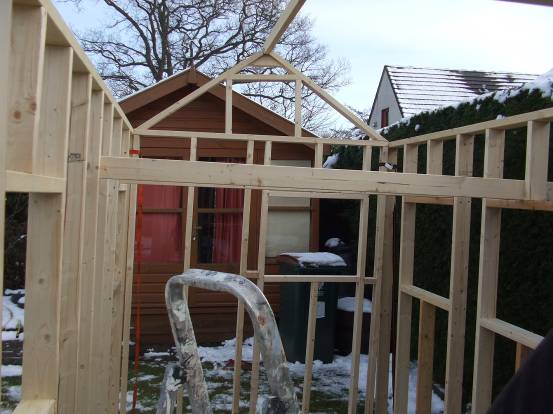
Above:
Again
|
Above:
Again
|
Above:
Again
|

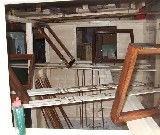
Above:
Sleeping platform
|
Above:
One roof frame
|
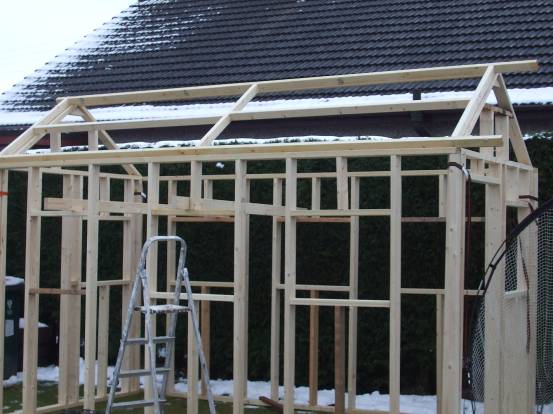
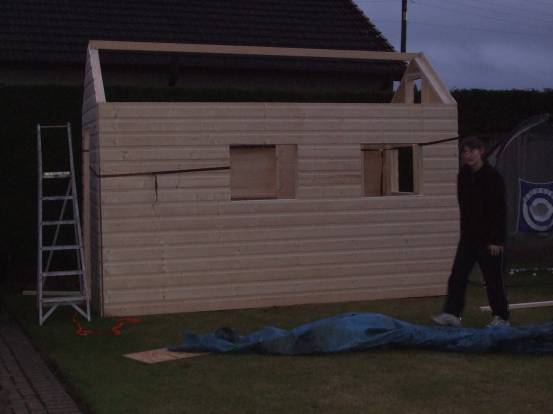
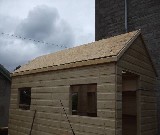
Above:
With roof frame on
|
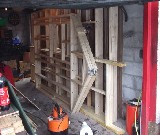
Above:
Kit in garage
|
Above:
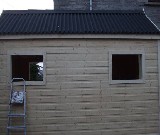
Cladding started
|

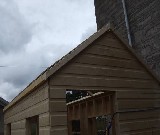
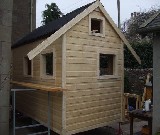
Above:
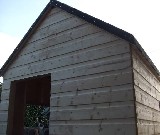
Both gable ends cladd
|
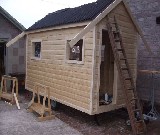
Above:
and again
|
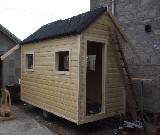
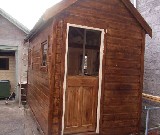
Above:
My dad in the Kitchen and
bedroom and bathroom.......
|
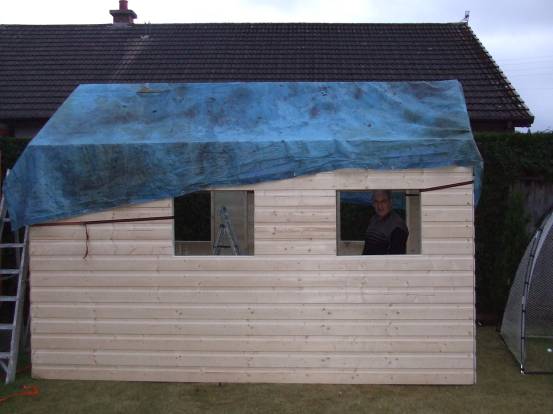
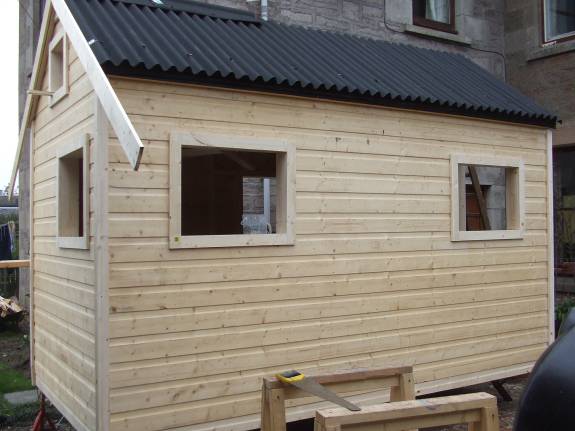
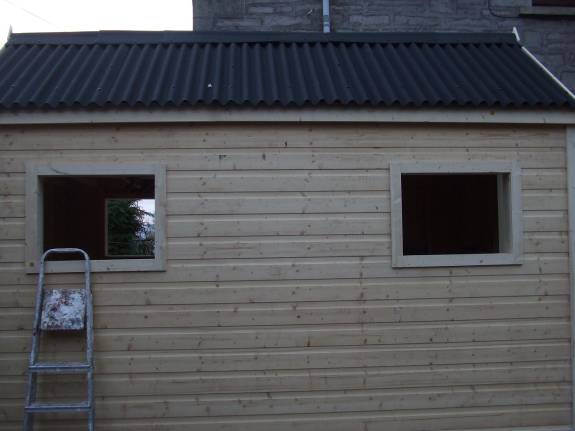
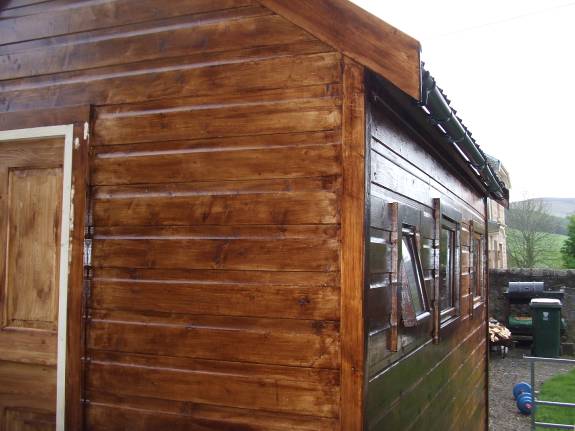
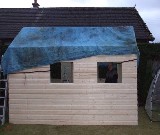
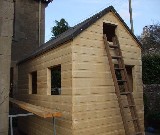
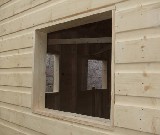
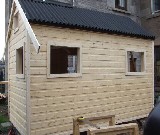
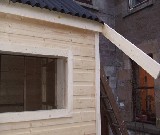
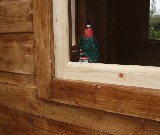
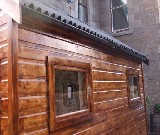
Above:
i cladded over two windows on
the front left of this picture and
another next to the front door, as I have
not decided which to use yet.
|
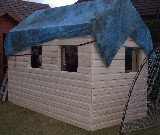
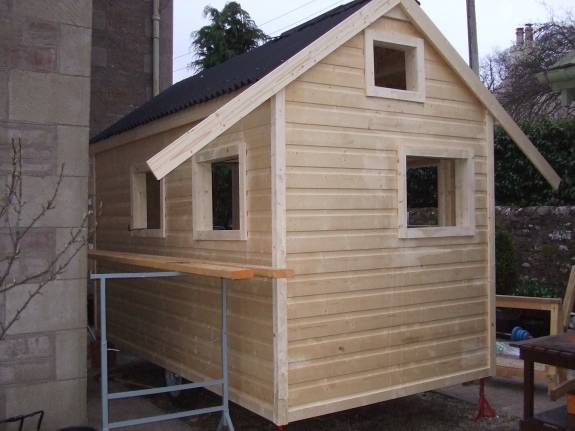
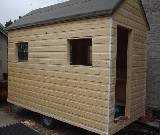
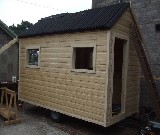
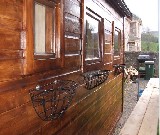
Above:
The rear
|

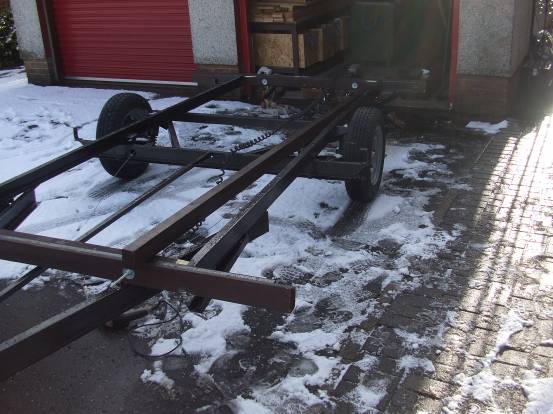
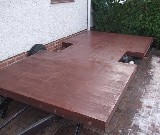
Above:
Trailer with a fresh coat of
floor paint
|

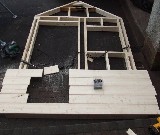
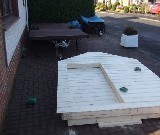
Above:
House flat pack
|
Above:
Getting walls ready to put
up(adjusting wheel wells)
|

Above:
Walls up
|
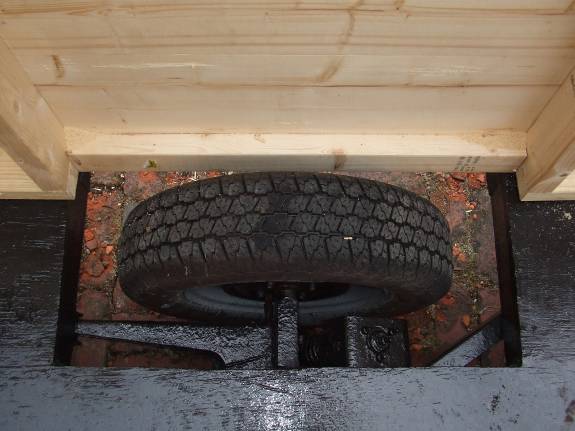
Above:
Wheel wells
|
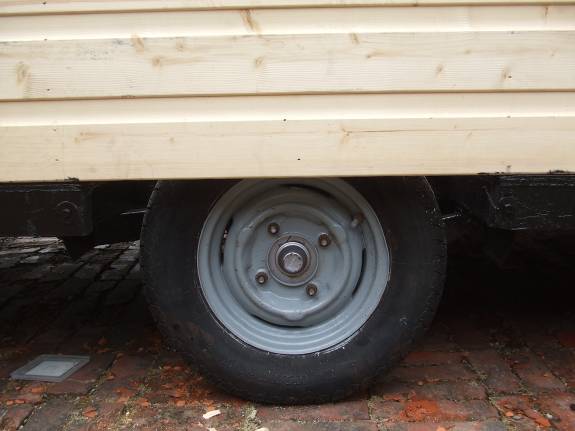
Above:
Wheel
|
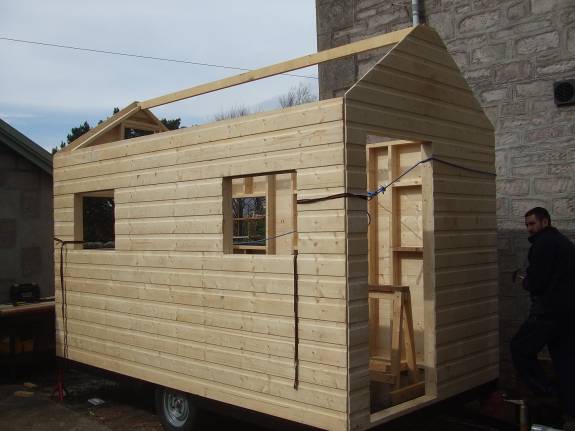
Above:
Roof Beam in
|
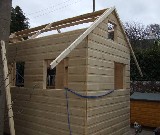
Above:
Roofing structure
|
Above:
Roof boarded
|

Above:
Rear
|
Above:
Front
|
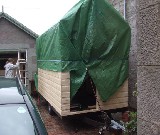
Above:
Covered for the evening
|
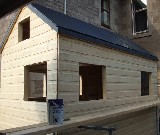
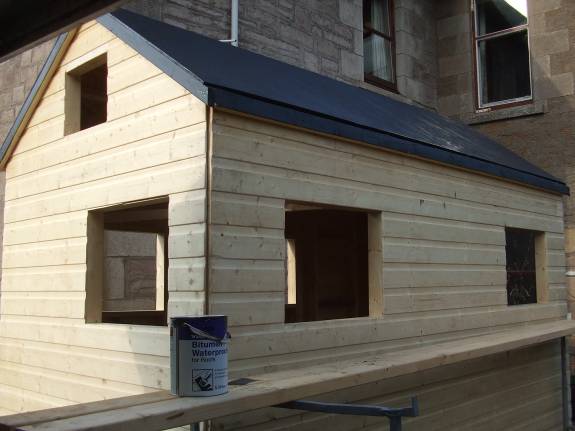
Above:
Roof painted and sealed with a
quick coat of bitumen waterproofer
|
Above:
Underlay felt layed , from rear
|
Above:
Underlay felt layed, from front
|
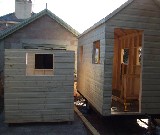
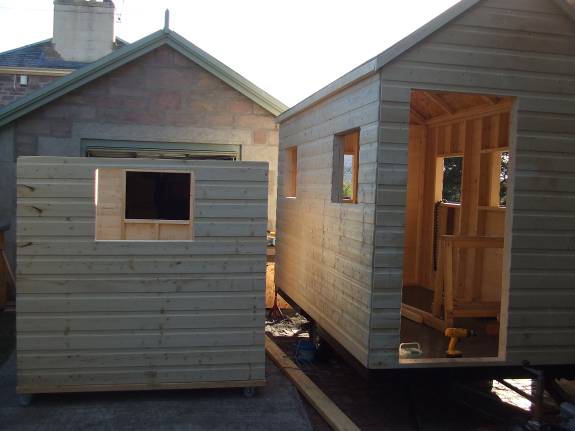
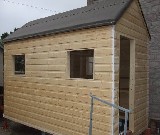
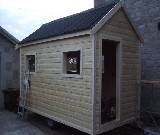
Above:
Tiny little house and office
next to each other
|
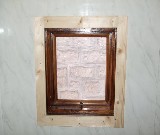
Above:
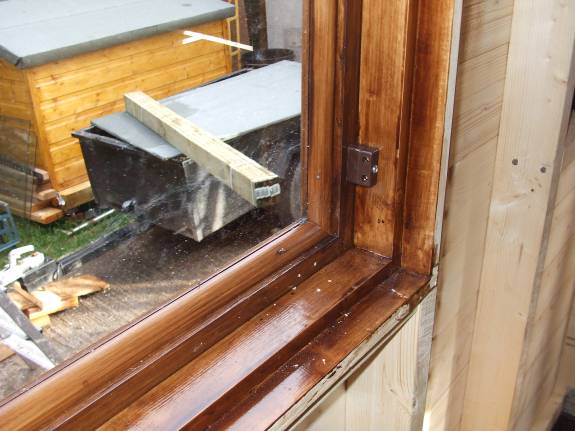
Windows casing
|
Above:
Window casing
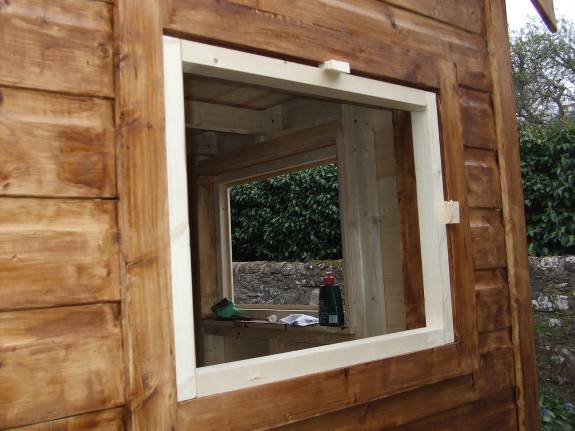
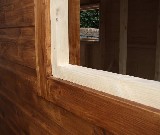
|
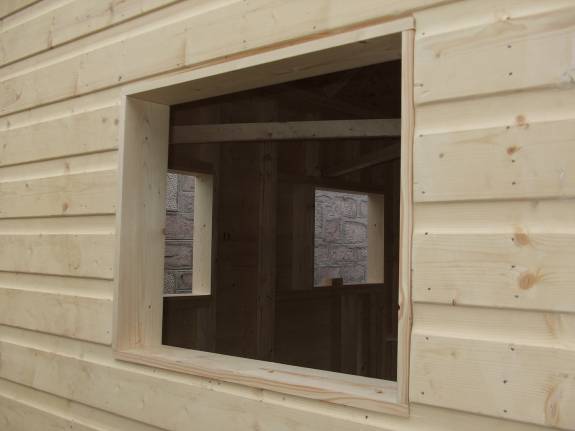
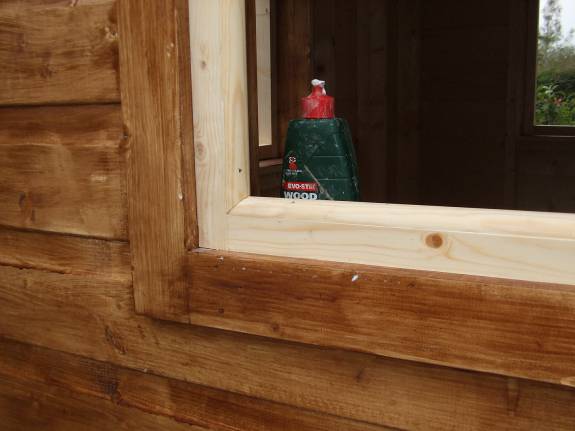
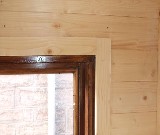
Above:
Window casings completed and
wall frame corners sealed
|
Above:
Window casings completed and
wall frame corners sealed
|
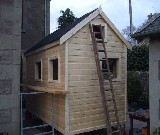
Above:
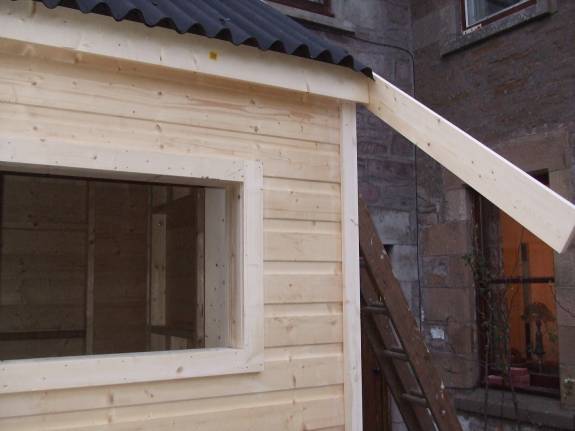
Door ,window and corner facings
on. and roof started and facia boards
going on
|
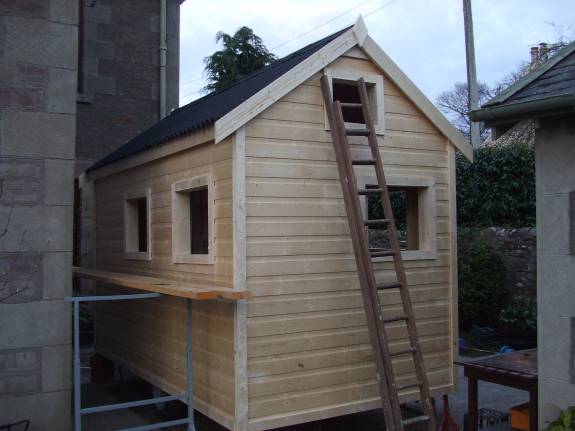
Above:
Rear showing facia boards
|
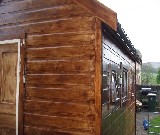
Above:
Side view
|
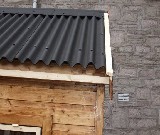
Above:
Roof sheeted in corrugated
bitumen sheets....very lightweight and
gauranteed for 15 years
|
Above:
Front facias ready to be cut
|

Above:
Rear facias ready to be cut
|
Above:
Self made corner bead and facia
framing
|
Above:
side facia boards on waiting for
the gutters.
|
Above:
Roof Finished and Facias trimmed
|
Above:
Rear View
|
Above:
Example of nail punched and
filled (hardly visible)
|
Above:
Side View missing ridge pieces
in
|
Above:
Sleeping loft joists in
|
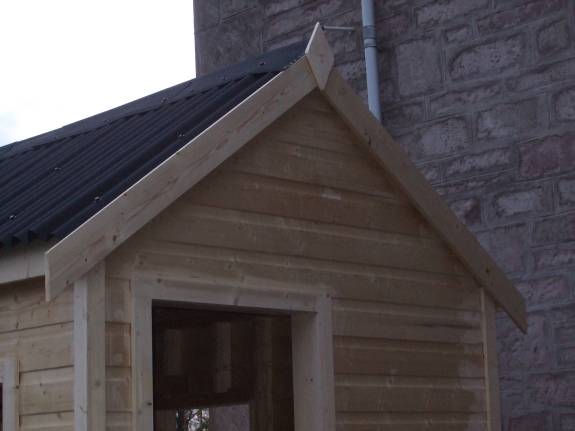
Above:
Decorative peice to cover bulge
of ridge piece and facia joint
|

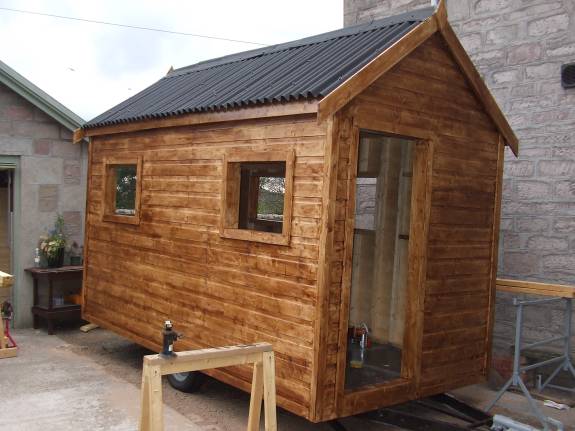
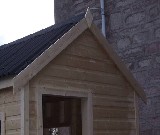
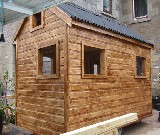
Above:
First coat of Stain on (warm
oak)
|
Above:
First coat of Stain on (warm
oak)
|

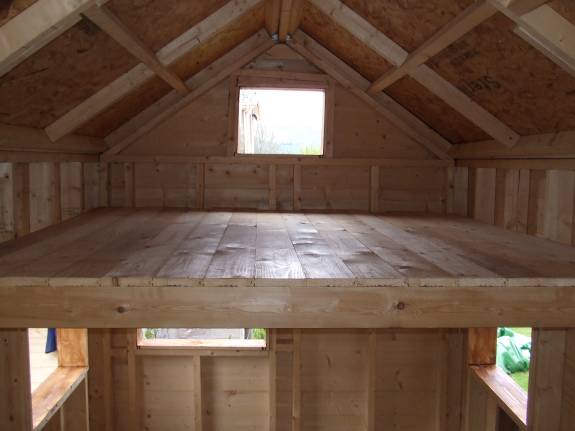
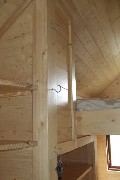
Above:
Sleeping platform in
|

Above:
Sleeping platform
|
Above:
Guttering batten fitted and
finish to fascia
|
Above:
window sash in progress
|
Above:
Window sash with front bead
|
Above:
window sash in window wedged in
place to insure that glue dries with sash
square
|
Above:
1 of 2 Unopening windows started
|
Above:
unopening window with front bead
in place
|
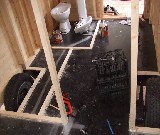
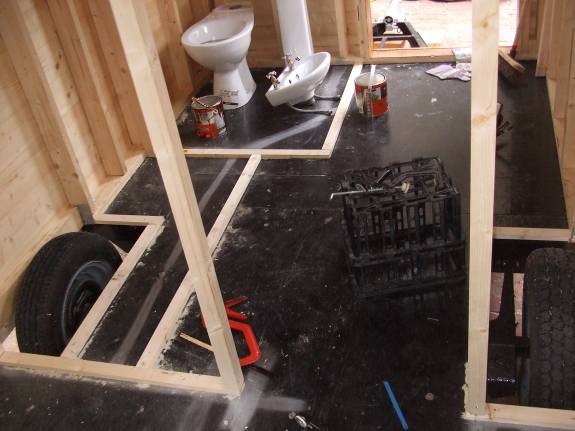
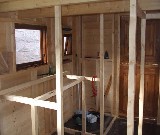
Above:
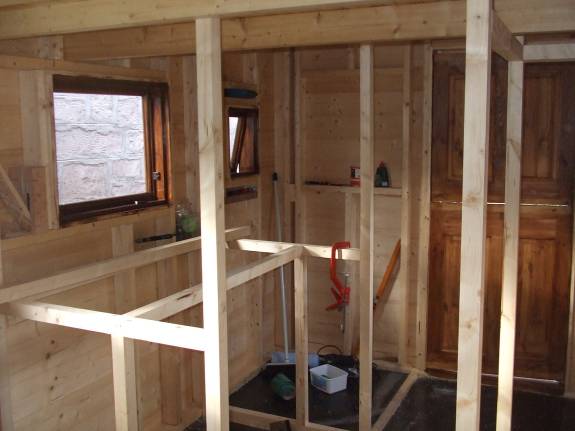
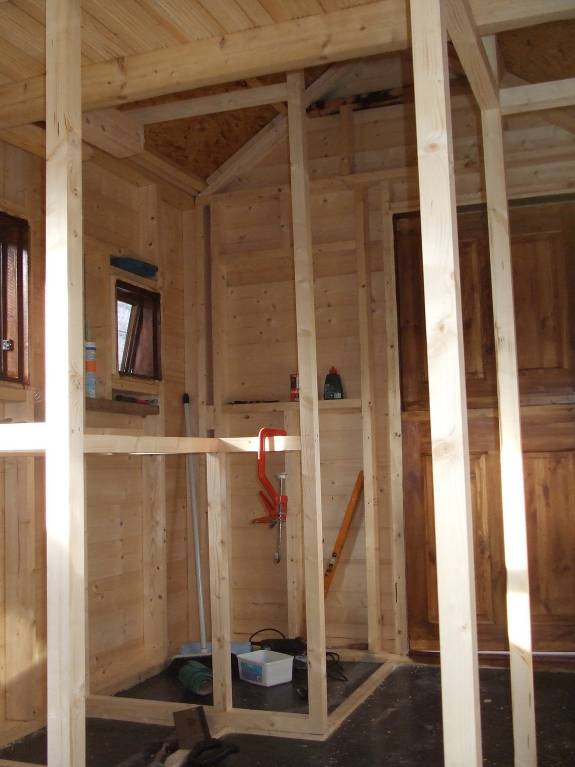
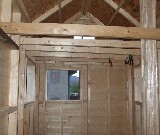
Internal layout and framing
started
|
Above:
Internal layout and framing
started
|
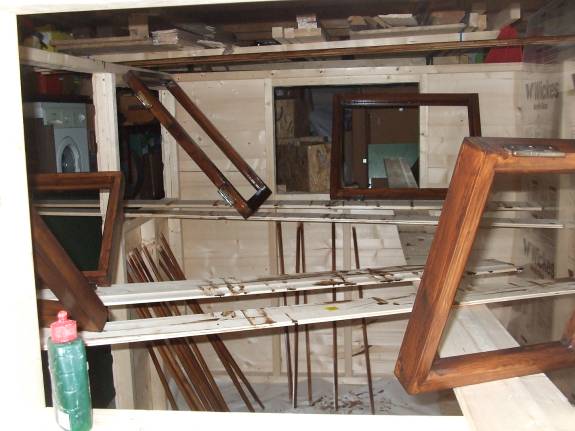
Above:
Windows Being made and stained
in the tiny little office.
|
Above:
Guttering and windows installed
|
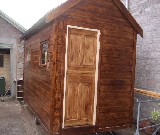
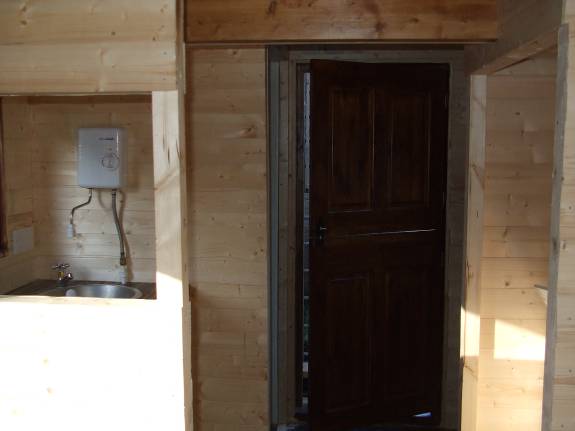
Above:
Stable style door made from 2x2
offcuts and panels out of a ex display
door
|
Above:
Stable style door made from 2x2
offcuts and panels out of a ex display
door
|
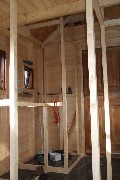
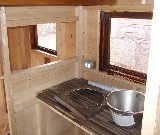
Above:
Internal Studwork and
kitchenette
|
Above:
Again
|
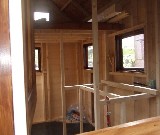
Above:
Internals
|

Above:
Window locks
|
Above:
Windows Finished
|
Above:
Ceiling insulation and cladding
started
|
Above:
Bathroon walls started
|

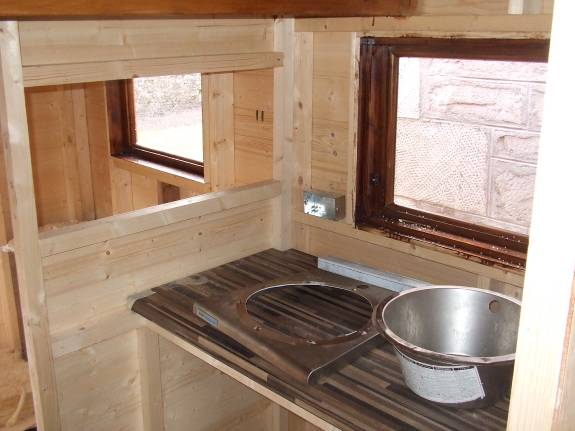
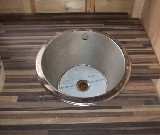
Above:
Circular sink removed from
casing
|
Above:
Kitchen
|

Above:
Interior cladding
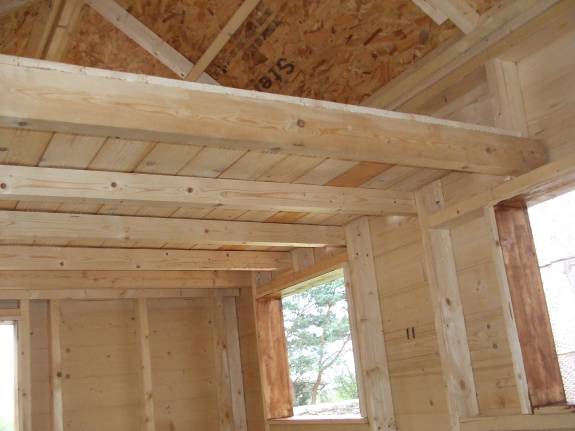
|
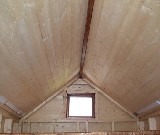
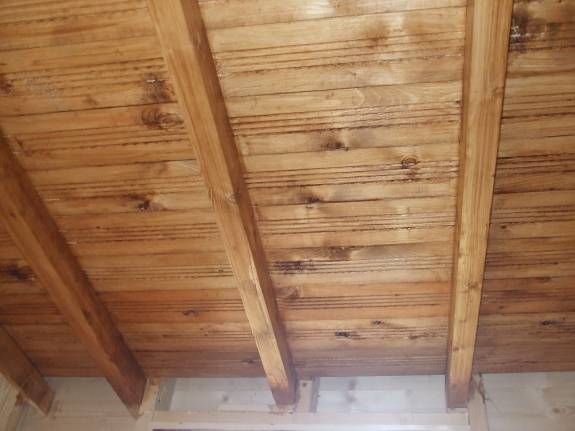
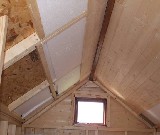
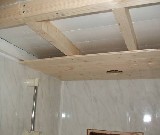
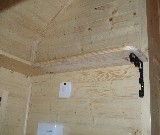
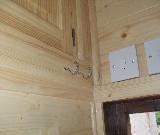
Above:
Ceiling cladded with exposed
beam
|

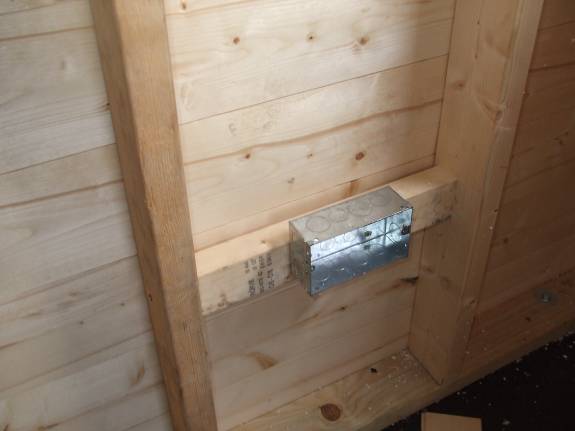
Above:
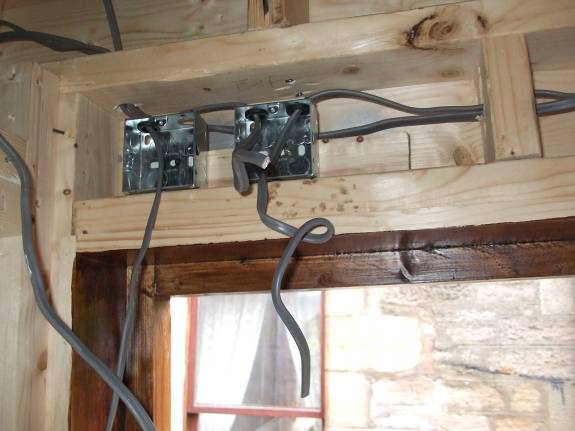
Electrical points
|
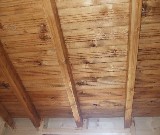
Above:
Living room ceiling below bed
|

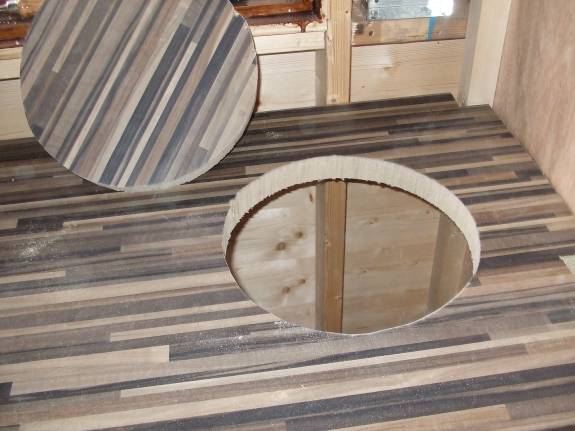
Above:
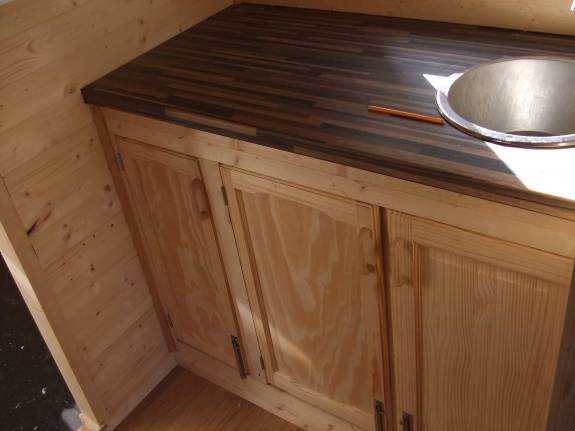
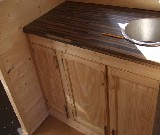
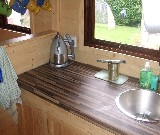
Worktop cut out
|
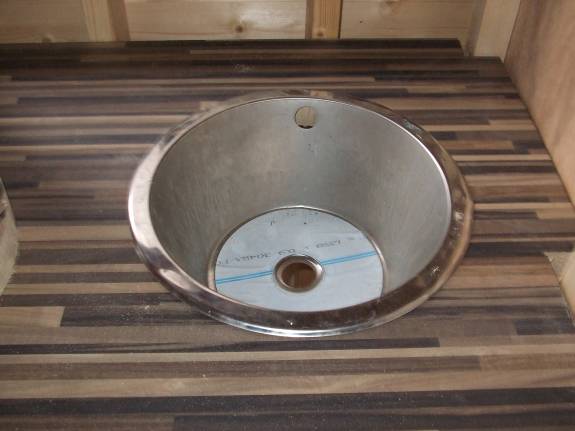
Above:
Sink in place
|
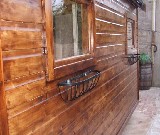
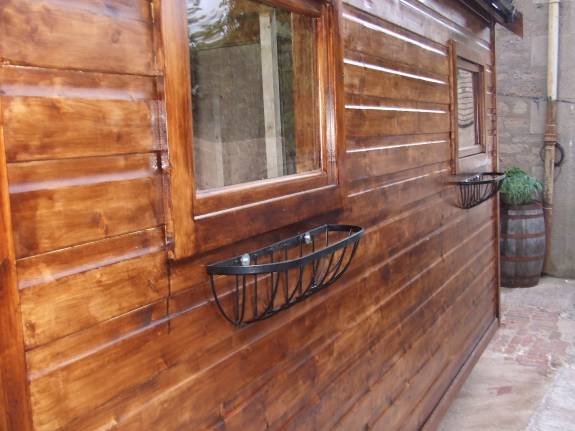
Above:
Window flower troughs
|
Above:
Window flower troughs
|
Above:
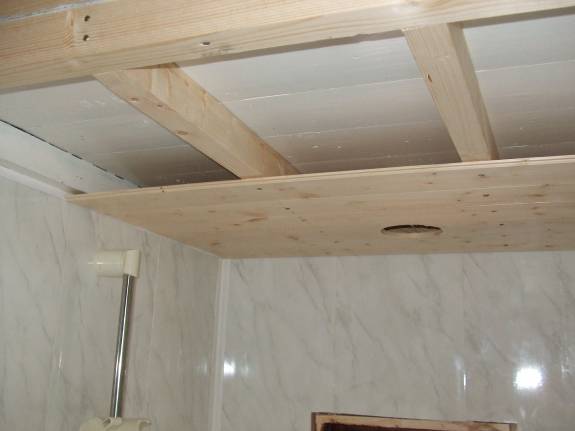
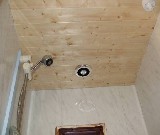
Toilet/shower ceiling
|
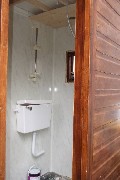
Above:
Toilet/shower room with pvc
cladding on walls
|
Above:
Electrical consumer unti
|
Above:
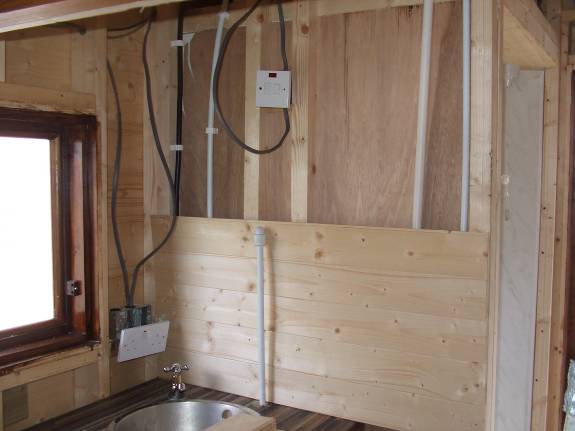
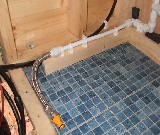
Wiring
|
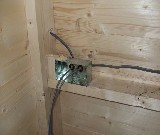
Above:
Socket wiring
|
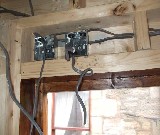
Above:
Switch wiring
|
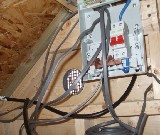
Above:
Consumer unit
|

Above:
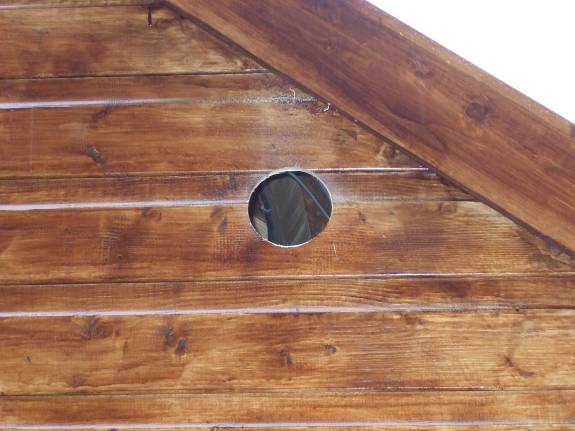
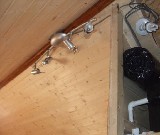
extractrion fan hole
|
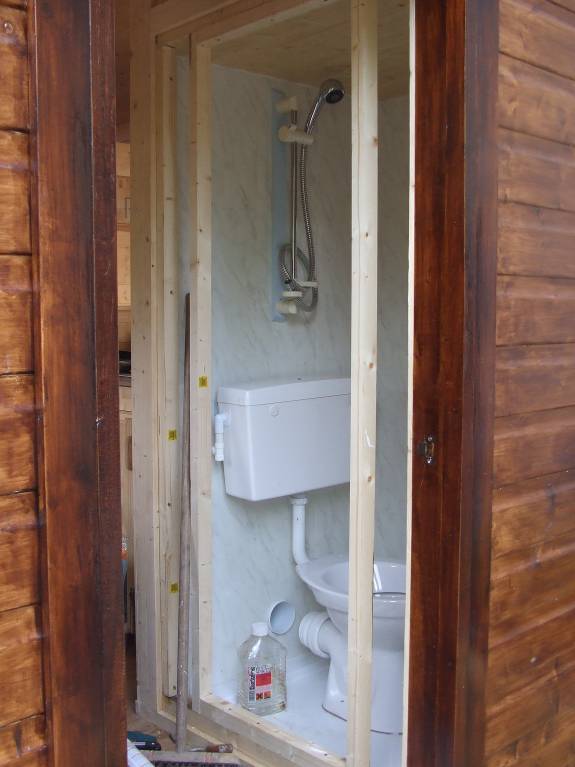
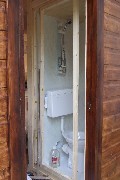
Above:
toilet / shower room
|
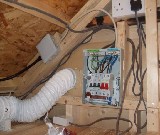
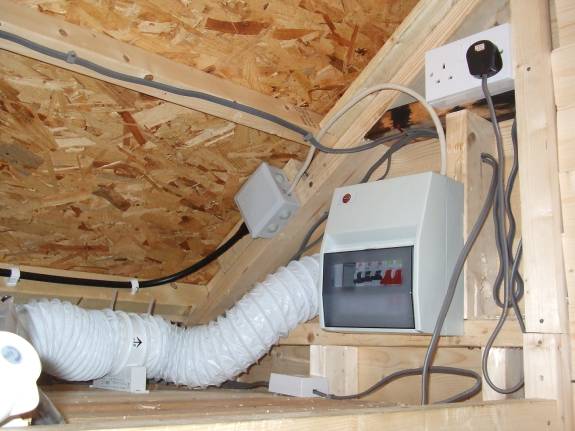
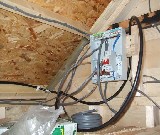
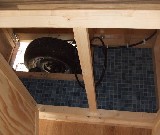
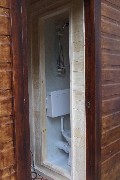
Above:
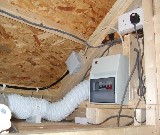
Area above shower room with electrics and
extraction fan and ducting
|
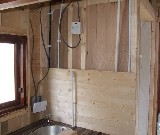
Above:
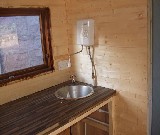
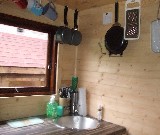
Kitchen area
|
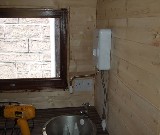
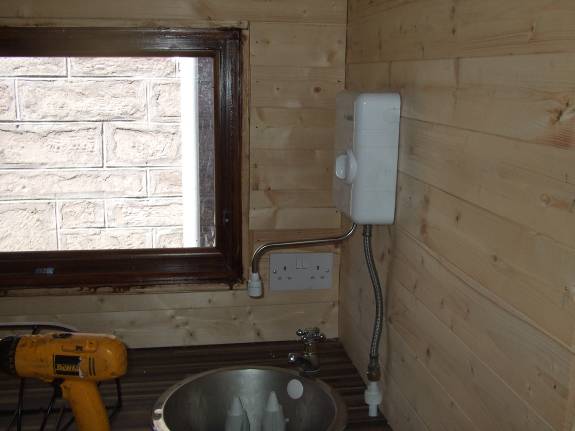
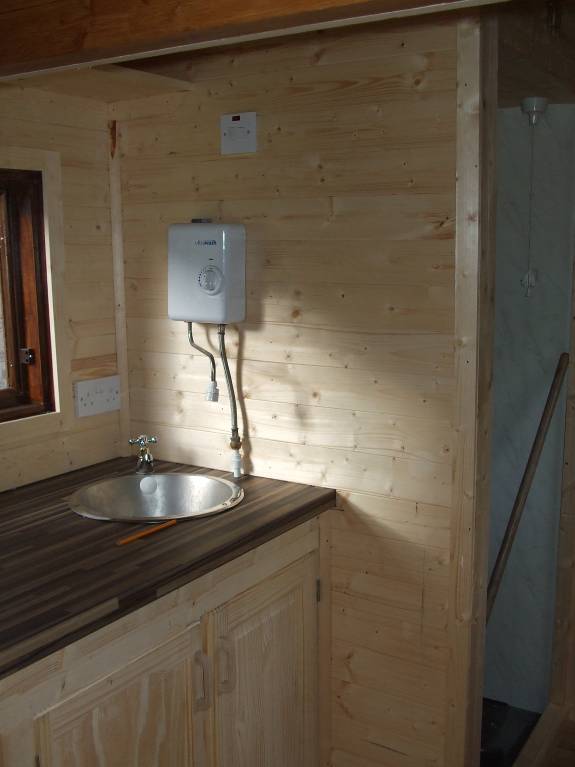
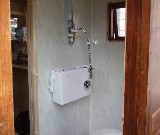
Above:
Hot water for the kitchen
|

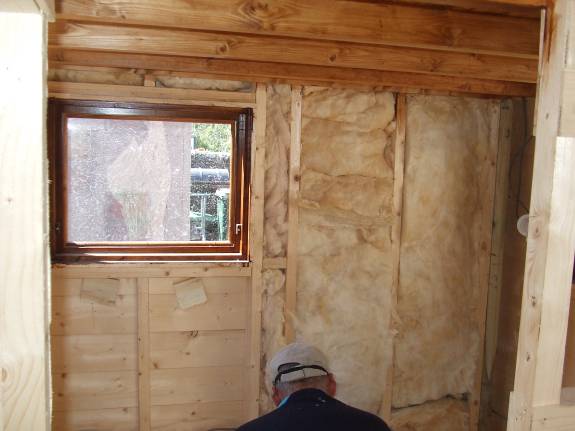
Above:
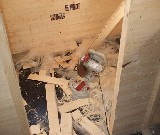
Insulation going in
|
Above:
What a mess!
|
Above:
Kitchen
|

|
|
Above:
Shower room ceiling with light
and extractor fan in one
|
Above:
Electrics finished
|
Above:
4 gallon water tank
|
Above:
Main strip of spotlights
|
Above:
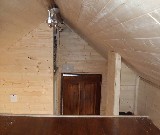
Up in the loft
|

Above:
Exterior light fitted
|
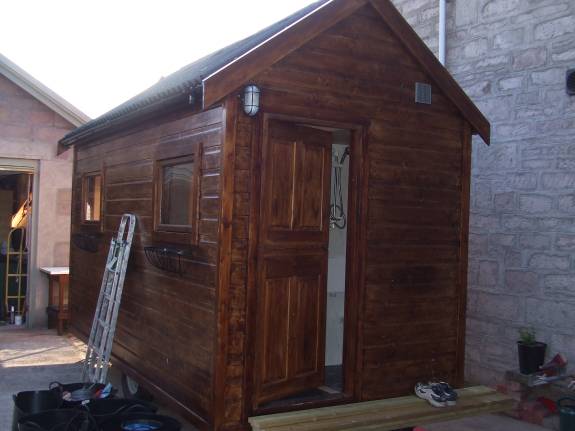
Above:
Decking area
|
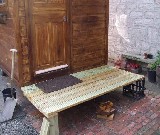
Above:
Decking area
|

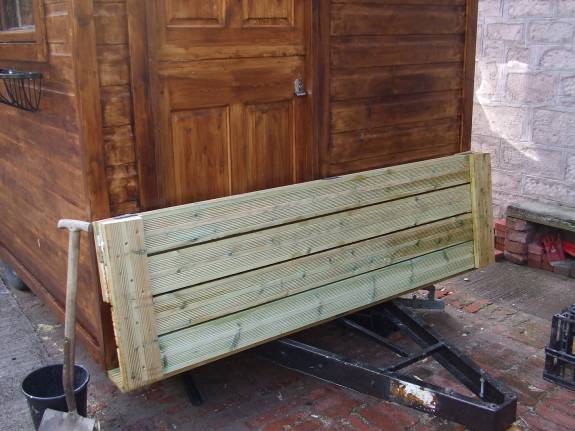
Above:
Folded up
|

Above:
Folded up
|
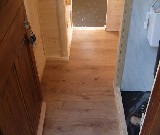
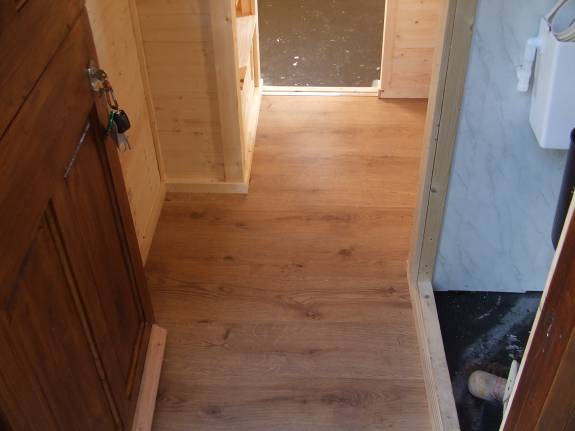
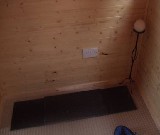
Above:
New flooring in hallway
|
Above:
Kitchen unit
|
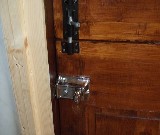
Above:
Door locks
|
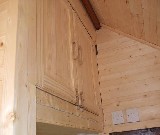
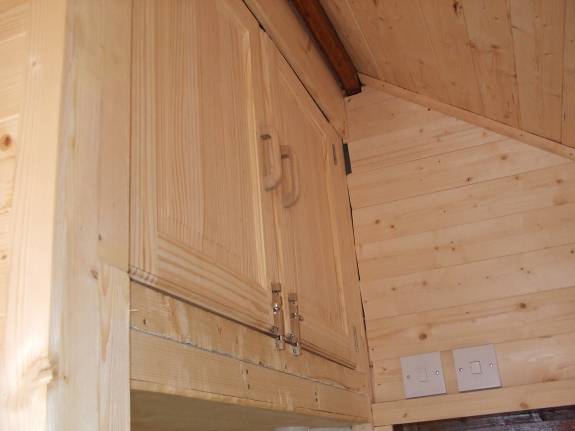
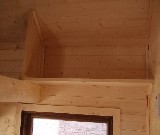
Above:
Cupboard above shower room
|

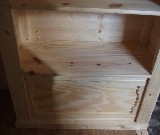
Above:
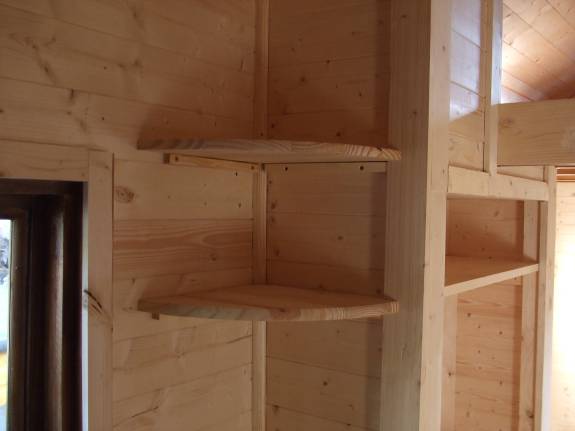
Corner shelfs
|
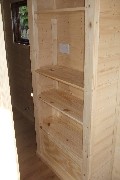
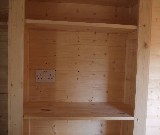
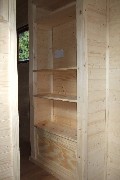
Above:
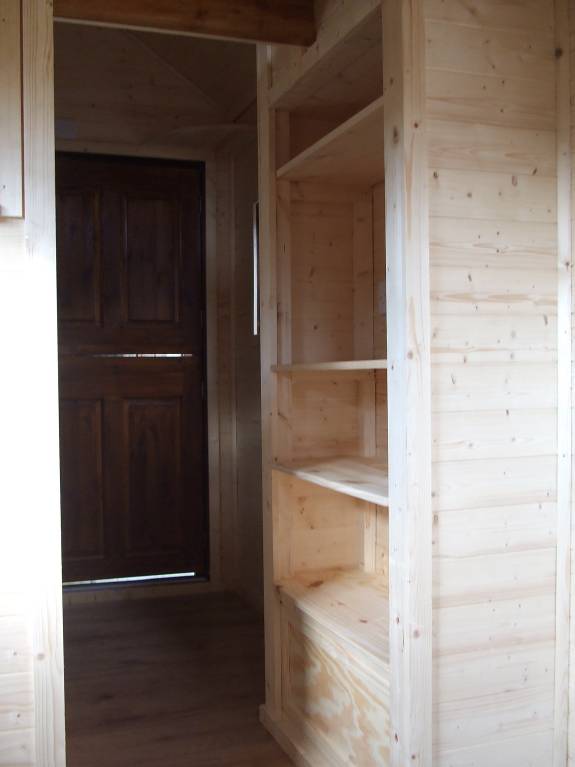
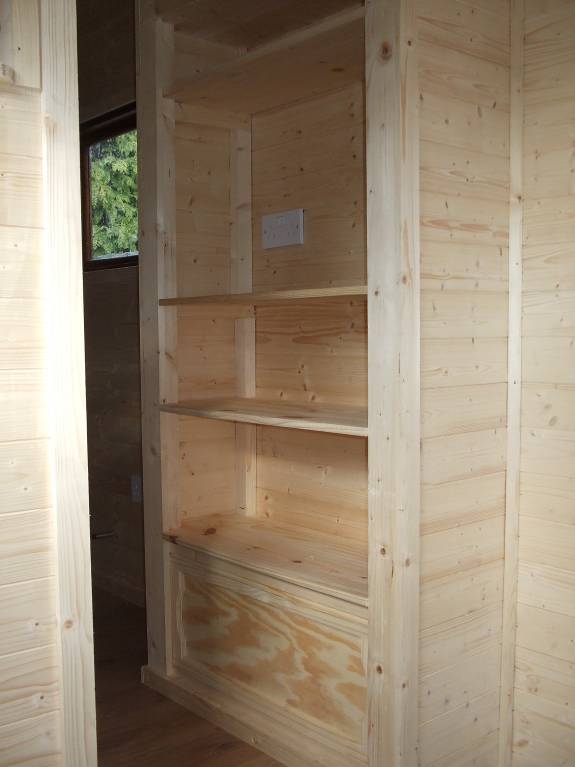
Full height shelfing unit over
wheel well
|
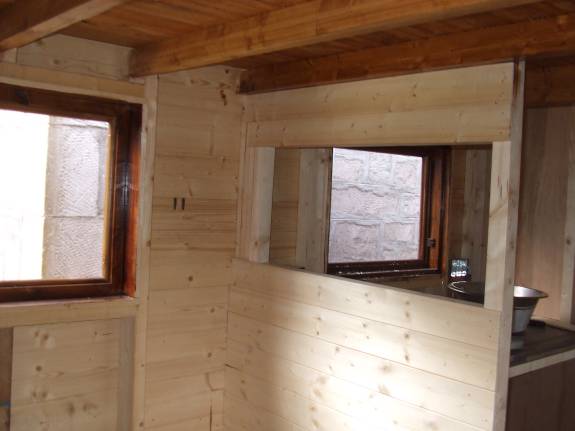
Above:
Breakfast bar/hatch
|
Above:
Kitchen shelf
|
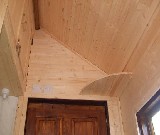
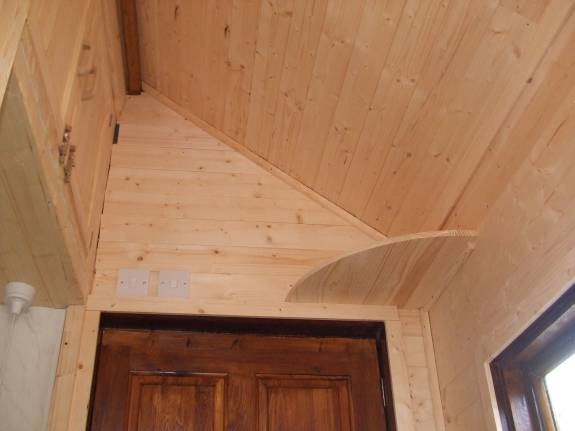
Above:
Corner shelf above door
|
Above:
Power point in shelfing unit
possibly for microwave
|
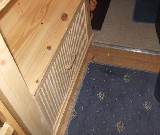
Above:
Wheel well
|
Above:
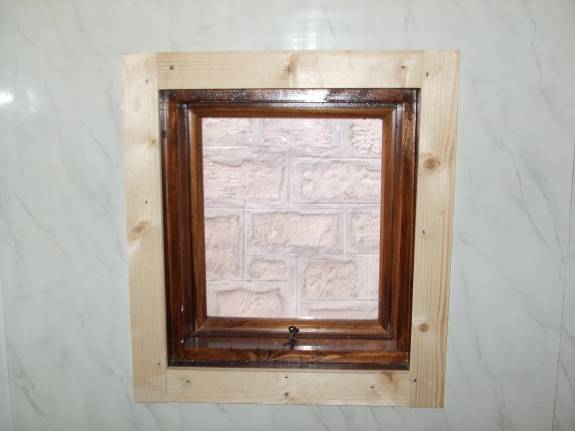
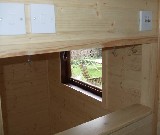
Shower room window
|
Above:
Window facings on
|

Above:
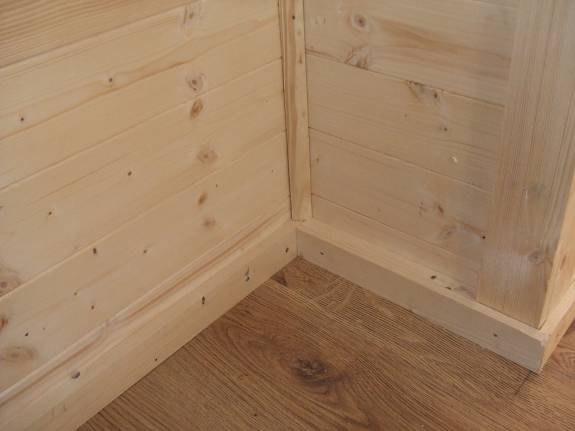
Skirting and beading
|
Above:
Cupboard under kitchen unit.
Wheel covers to be fitted still
|
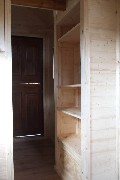
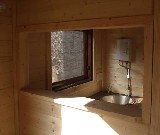
Above:
View from living room
|
Above:
Shelfing unit
|

Above:
Kitchen unit
|

Above:
Kitchen
|
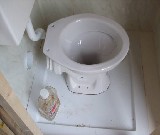
Above:
Toilet glued into place and
waste hole cut
|
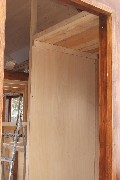
Above:
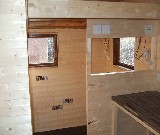
Shower room doorway framed
|
Above:
Shower room doorway ready for a
door
|

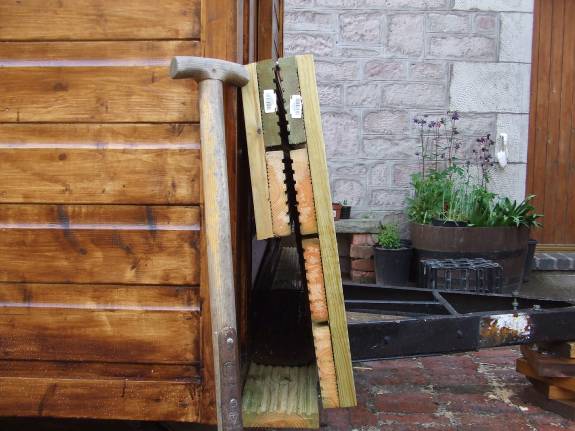
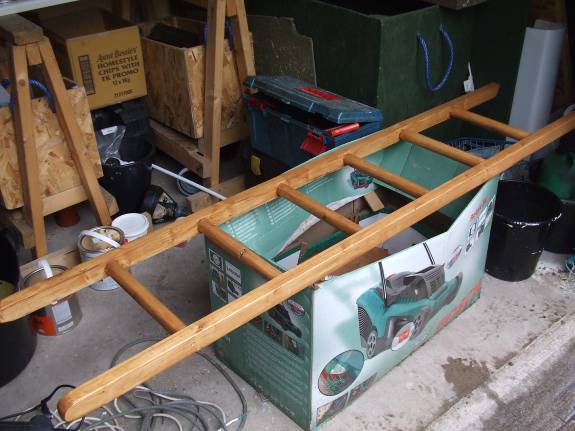
Above:
Ladder made from two lengths of
2x2 and a legth of dowel and some light
oak stain
|

Above:
Rubber door stops for the ladder
feet to stop any marks on the floor
|
Above:
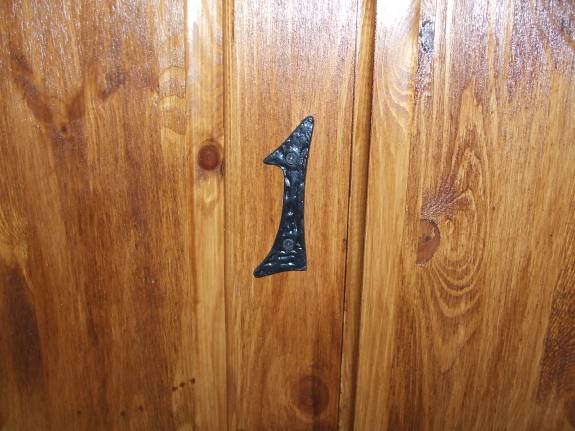
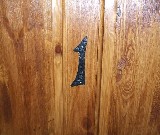
Door number. hopefully there
will be a 2,3,4,5.... someday
|

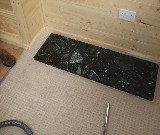
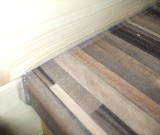
Above:
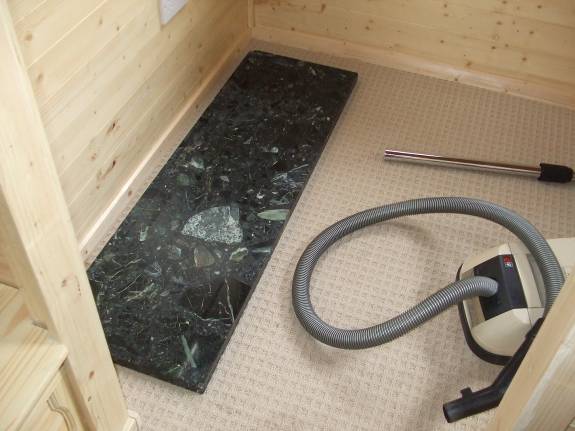
Carpet and skirting laid in the
living area and a marble hearth stone
that was free from an old fireplace
|
Above:
Some cup hooks
|

Above:
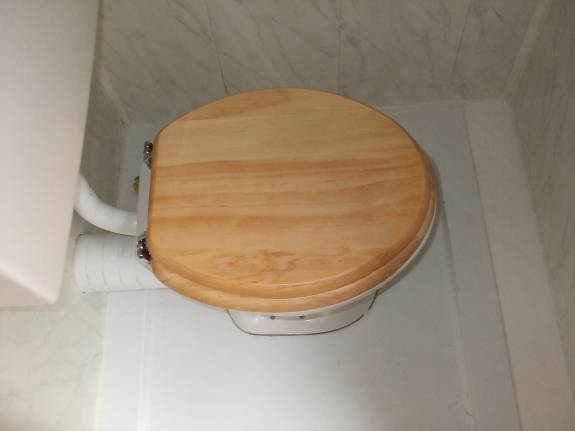
Pine toilet seat
|
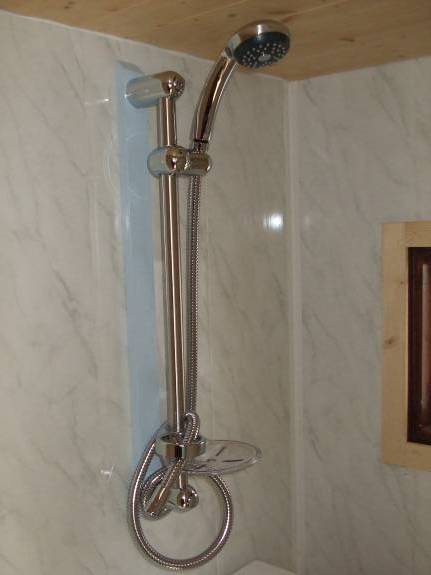
Above:
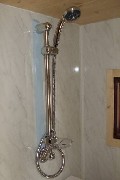
A new chrome shower (only £8)
|
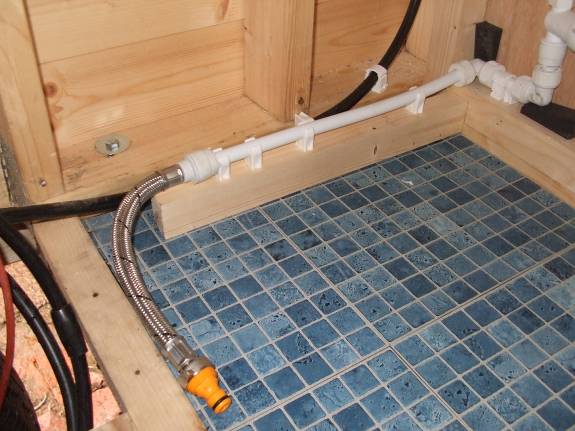
Above:
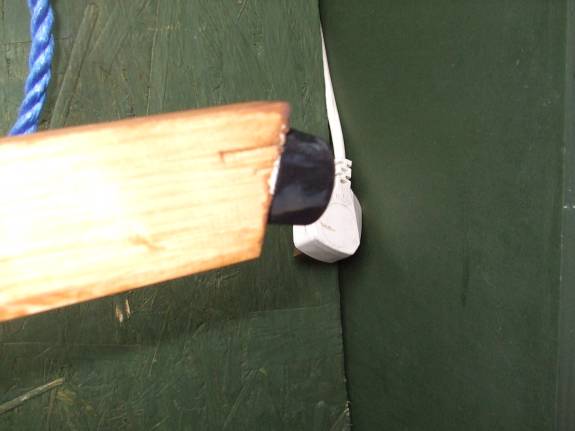
A bit of plumbing... Main water
inlet to fill tank
|
Above:
arpet and skirting laid in the
living area and a marble hearth stone
that was free from an old fireplace
|
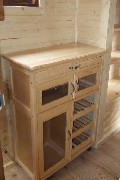
Above:
Small kitchenette unit in place
|
Above:
Some more hooks
|
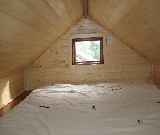
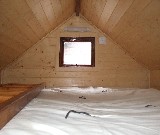
Above:
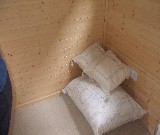
The loft area with a futon
matress that was also free off of
freecycle
|
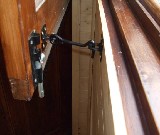
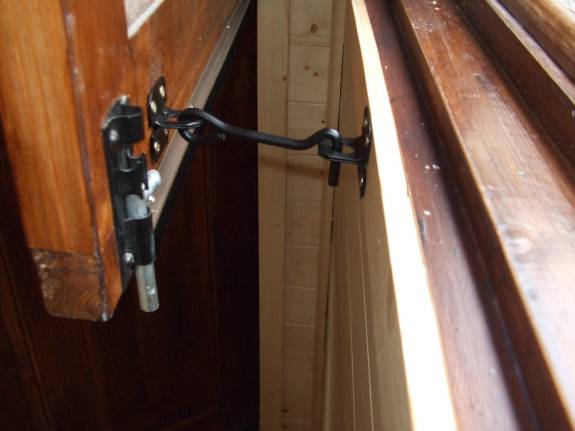
Above:
Latch to keep stable door open
|
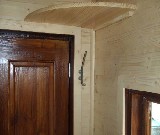
Above:
Coat hook.
|
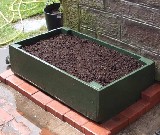
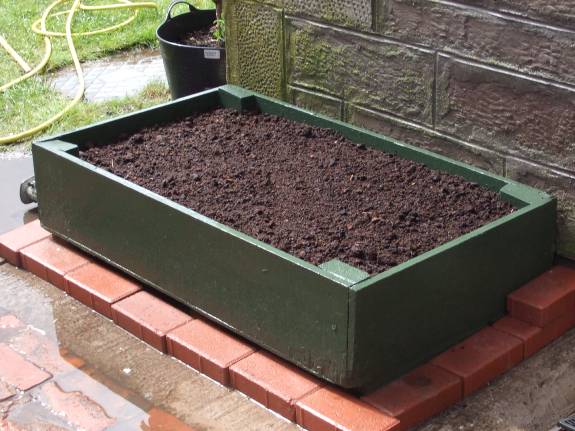
Above:
Veg bed planted with carrots and
spring onions
|

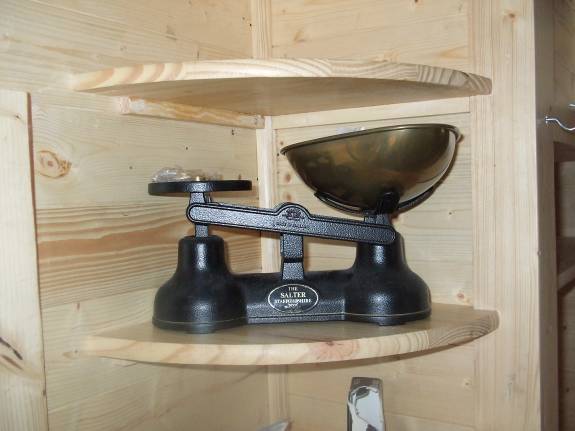
Above:
Scales found at car boot sale
for £2
|
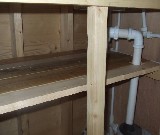
Above:
Shelf under sink made from scrap
offcuts of an old bed
|
Above:
Another car boot bargain
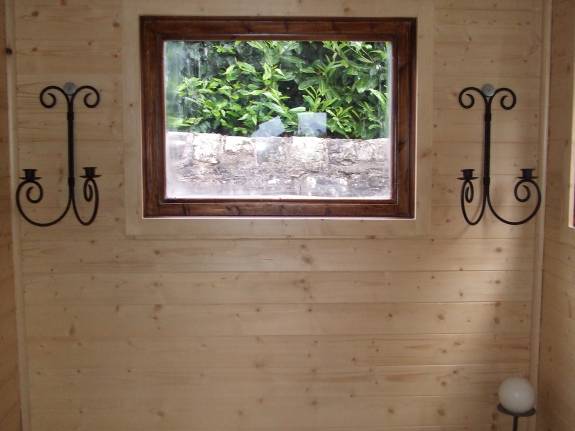
|
Above:
Slate Tiles and Candle stick
|

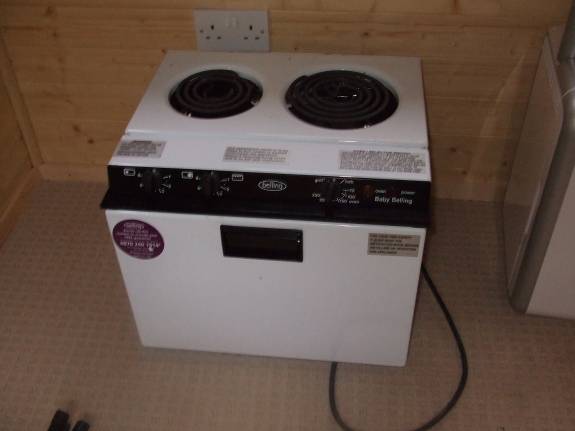
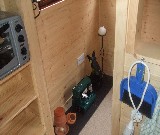
Above:
Baby belling mini oven, hob and
grill
|
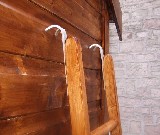
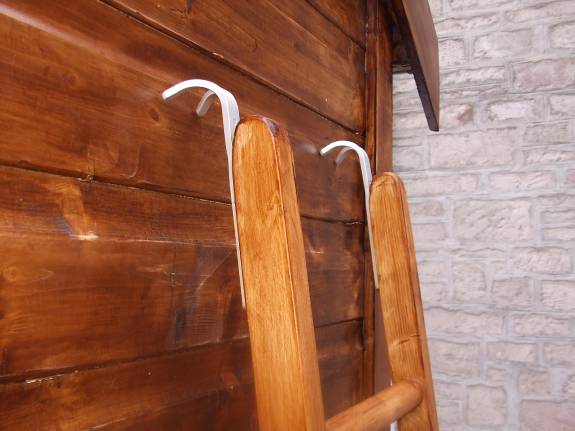
Above:
Ladder hooks
|
Above:
Extra shelving in kitchen area
|
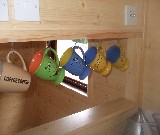
Above:
Key/misc hooks inside doorway
|
Above:
Kitchen worktop siliconed round
edges with clear silicone
|
Above:
Extra support for decking
|
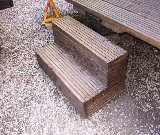
Above:
Steps made from the decking
offcuts
|
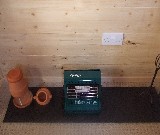
Above:
Small gas heater and the candle
heater
|
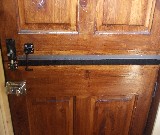
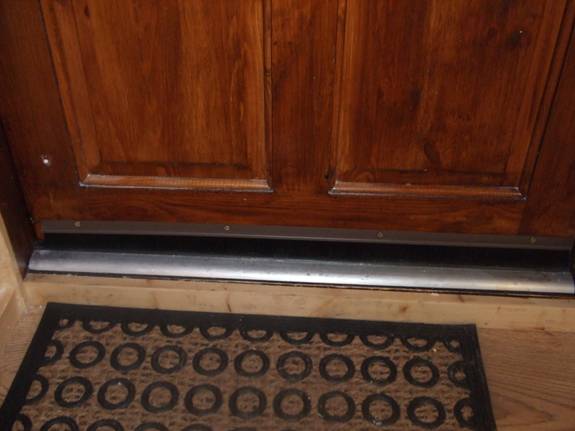
Above:
Draughtproofing strip on door
|
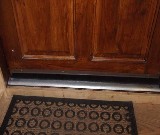
Above:
Draughtproofing strip on door
|
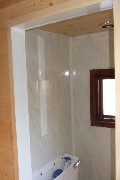
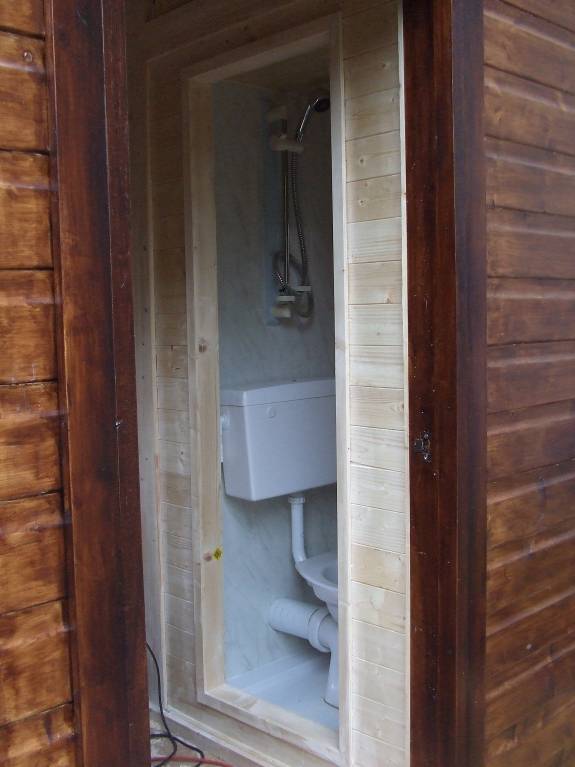
Above:
Shower and cistern mounts and
door frame for bathroom painted white and
window facing stained
|

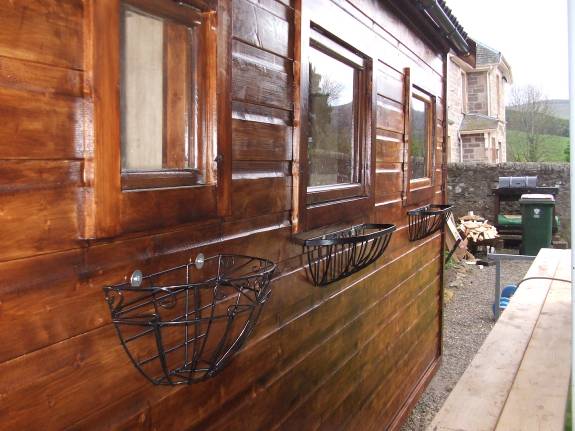
Above:
Hanging baskets and trough up
and lettuces in coming along nicely
|
Above:
Completed kitchen
|
Above:
Cushions to sit on
|
Above:
Happy cups
|
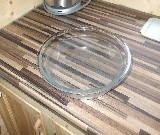
Above:
Bowl ( front of an old washing
machine
|

Above:
New Shortened Legs
|
Above:
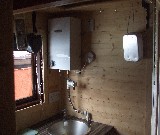
Kitchen
|
Above:
Bed
|
Above:
LIving area
|
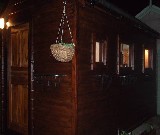
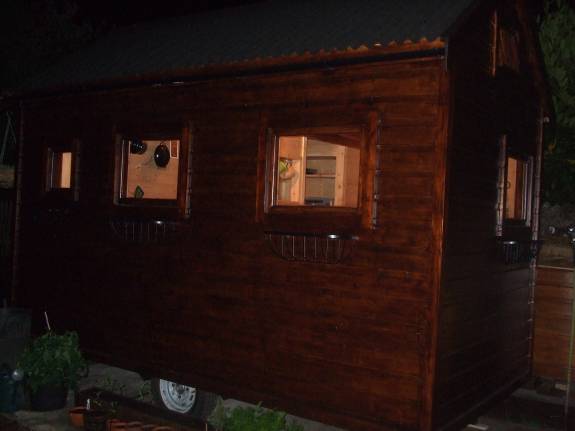
Above:
House at night
|
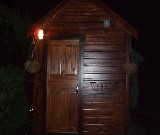
Above:
House at night
|
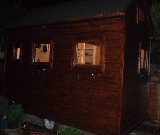
Above:
House at night
|
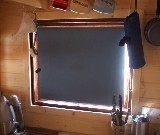
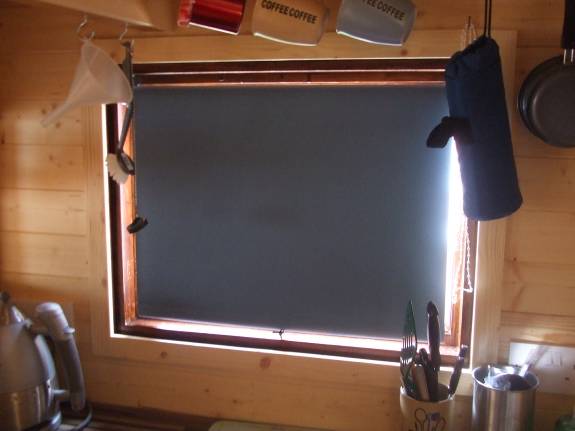
Above:
New easy wipe blackout blue
blind in the kitchen
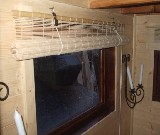
|
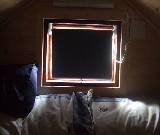
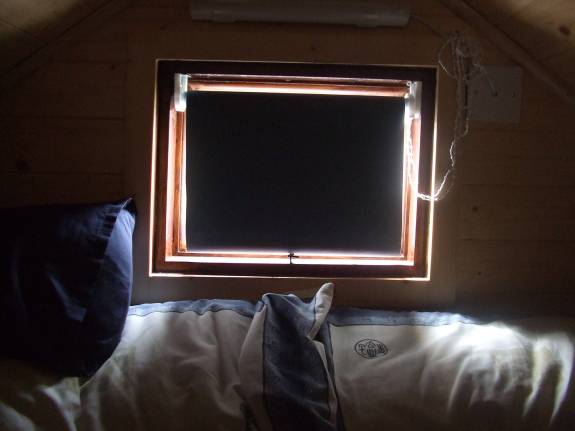
Above:
Blackout blue blind in the
sleeping loft
|
Above:
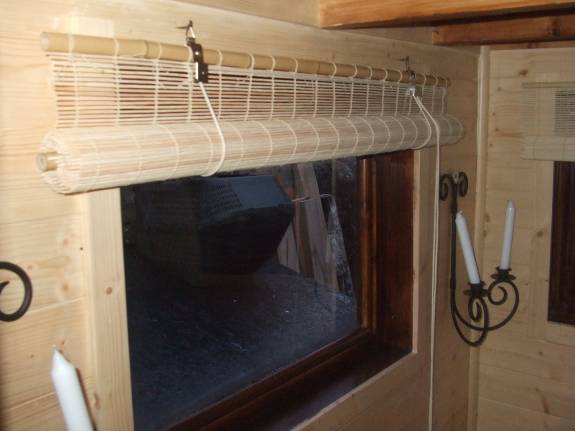
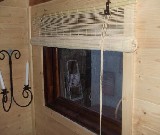
Bamboo rollup blinds throughout
the rest of the house
|
Above:
Bamboo rollup blinds throughout
the rest of the house
|

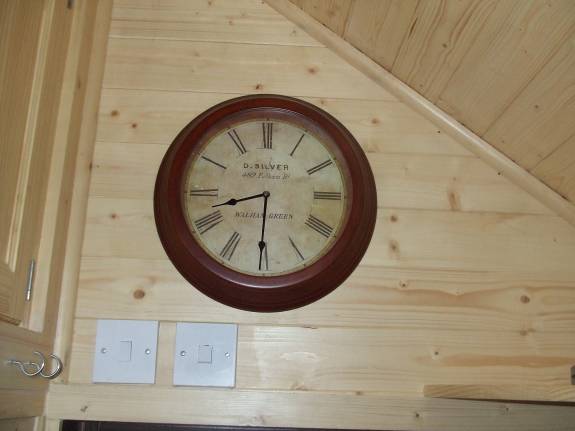
Above:
Nice antique style clock £5
from car boot sale above the front door.
|
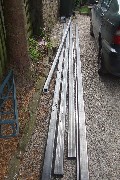
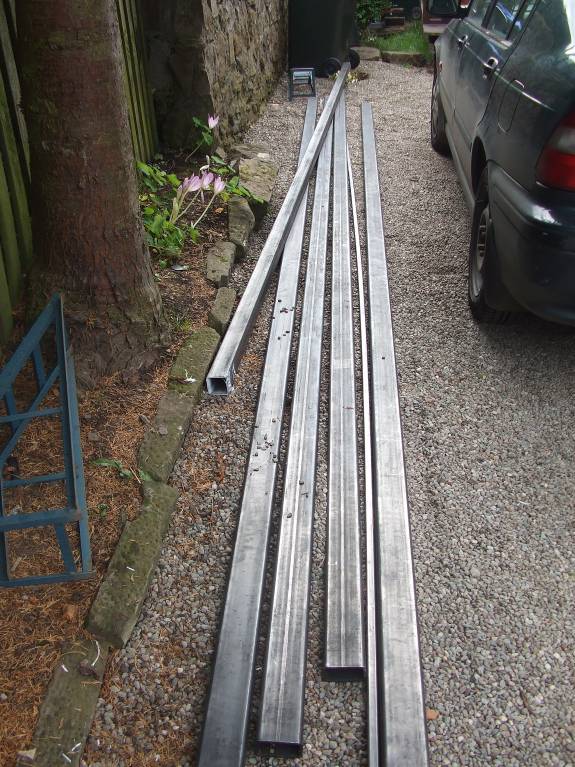
Above:
Steel for the new chassis
|
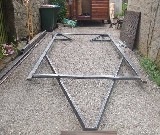
Above:
Chassis started
|
Above:
House with old A-frame removed
|
Above:
Chassis progressing
|
Above:
Chassis fitted
|

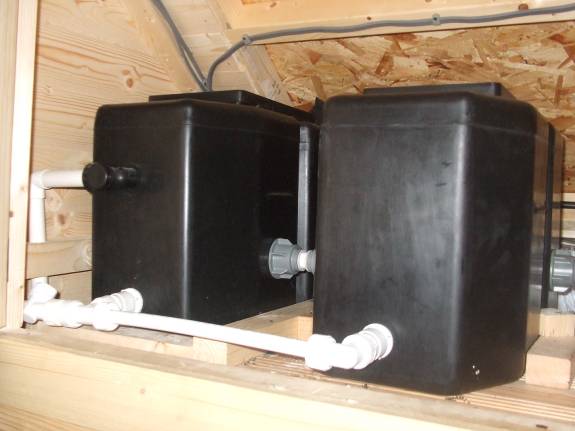
Above:
Additional cold water tank
fitted to double storing capacity from 4
to 8 gallons
|
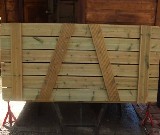
Above:
New set of steps built out of
some old fence panels as the original
ones fit the tiny office better
|
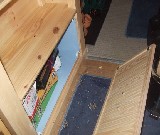
Above:
Reclaimed wheel well cover held
on with magnetic catches
|
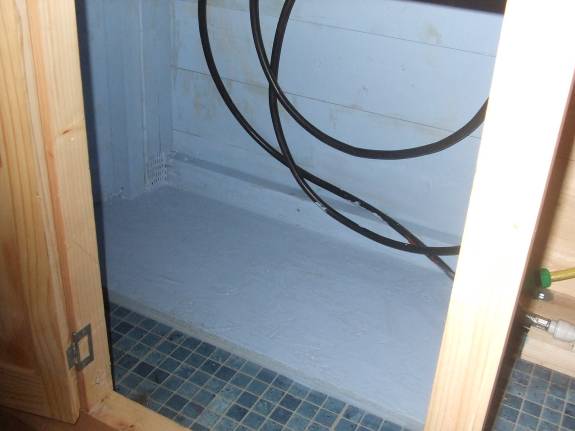
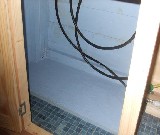
Above:
Old wheel space relaimed to make
more storage as the new chassis has the
wheels on the outside.
|
Above:
Reclaimed wheel well space under
the sink with a quick coat of paint to
keep it looking tidy.
|
Above:
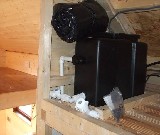
New hot water system to replace
the small instant heater. this holds
5litres of hot water and is fully
adjustable to keep the hot water at the
desired temperature.
|

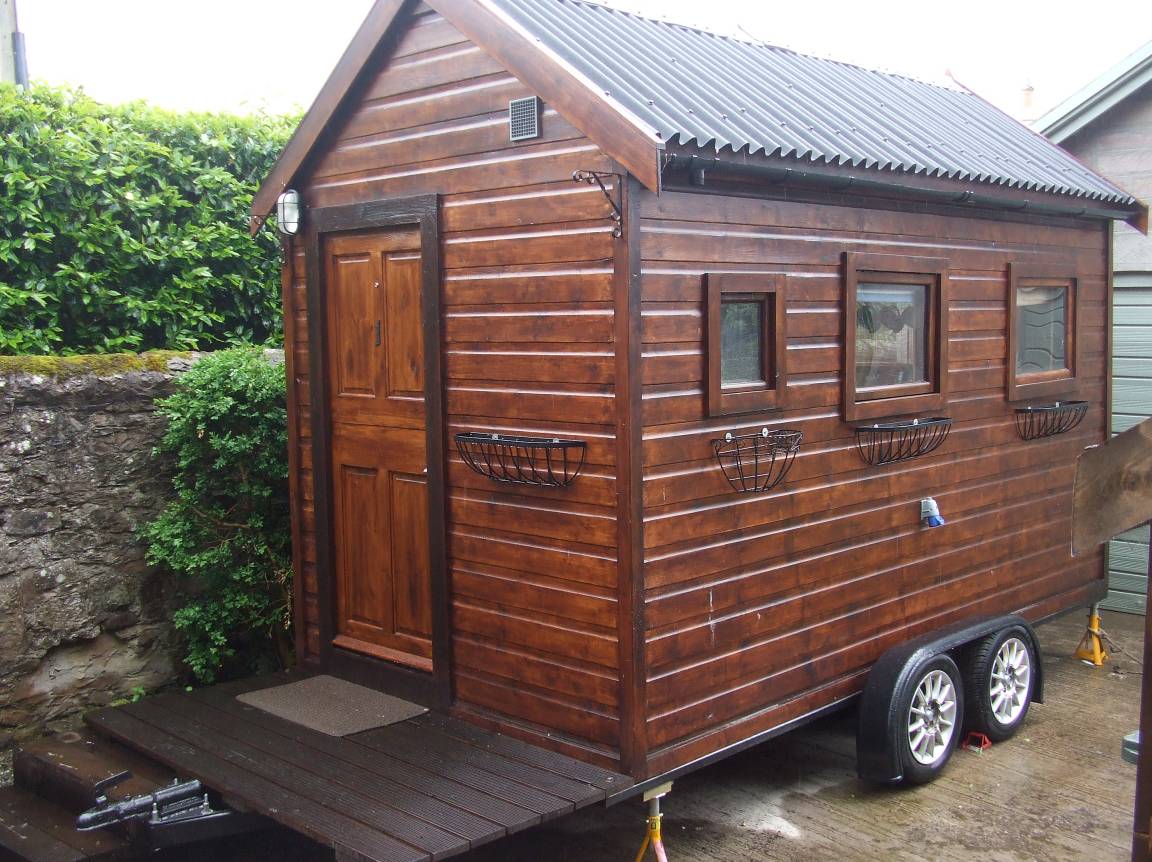
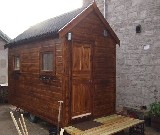
Above:
Whole house!!!
|
|
|
|
|